
QuickStart Guide
Wanting to jump into a Multiuser session from scratch? How about just diving into some single player content? Follow these QuickStart guides to get up and running as quickly as possible. We provide both a video and text guide.
https://www.youtube.com/watch?v=IaLk6p9wTt4&ab_channel=LuminousXRSingle Player Content
All content needs to be assigned to users via the Portal & classes before they are able to jump in and take part in any configuration.
To start, launch and log in to the Portal.
Go to the users page and create a new Trainee & Trainer using the “New User” button and fill in the relevant details. NOTE: If the users already exist, skip this step.
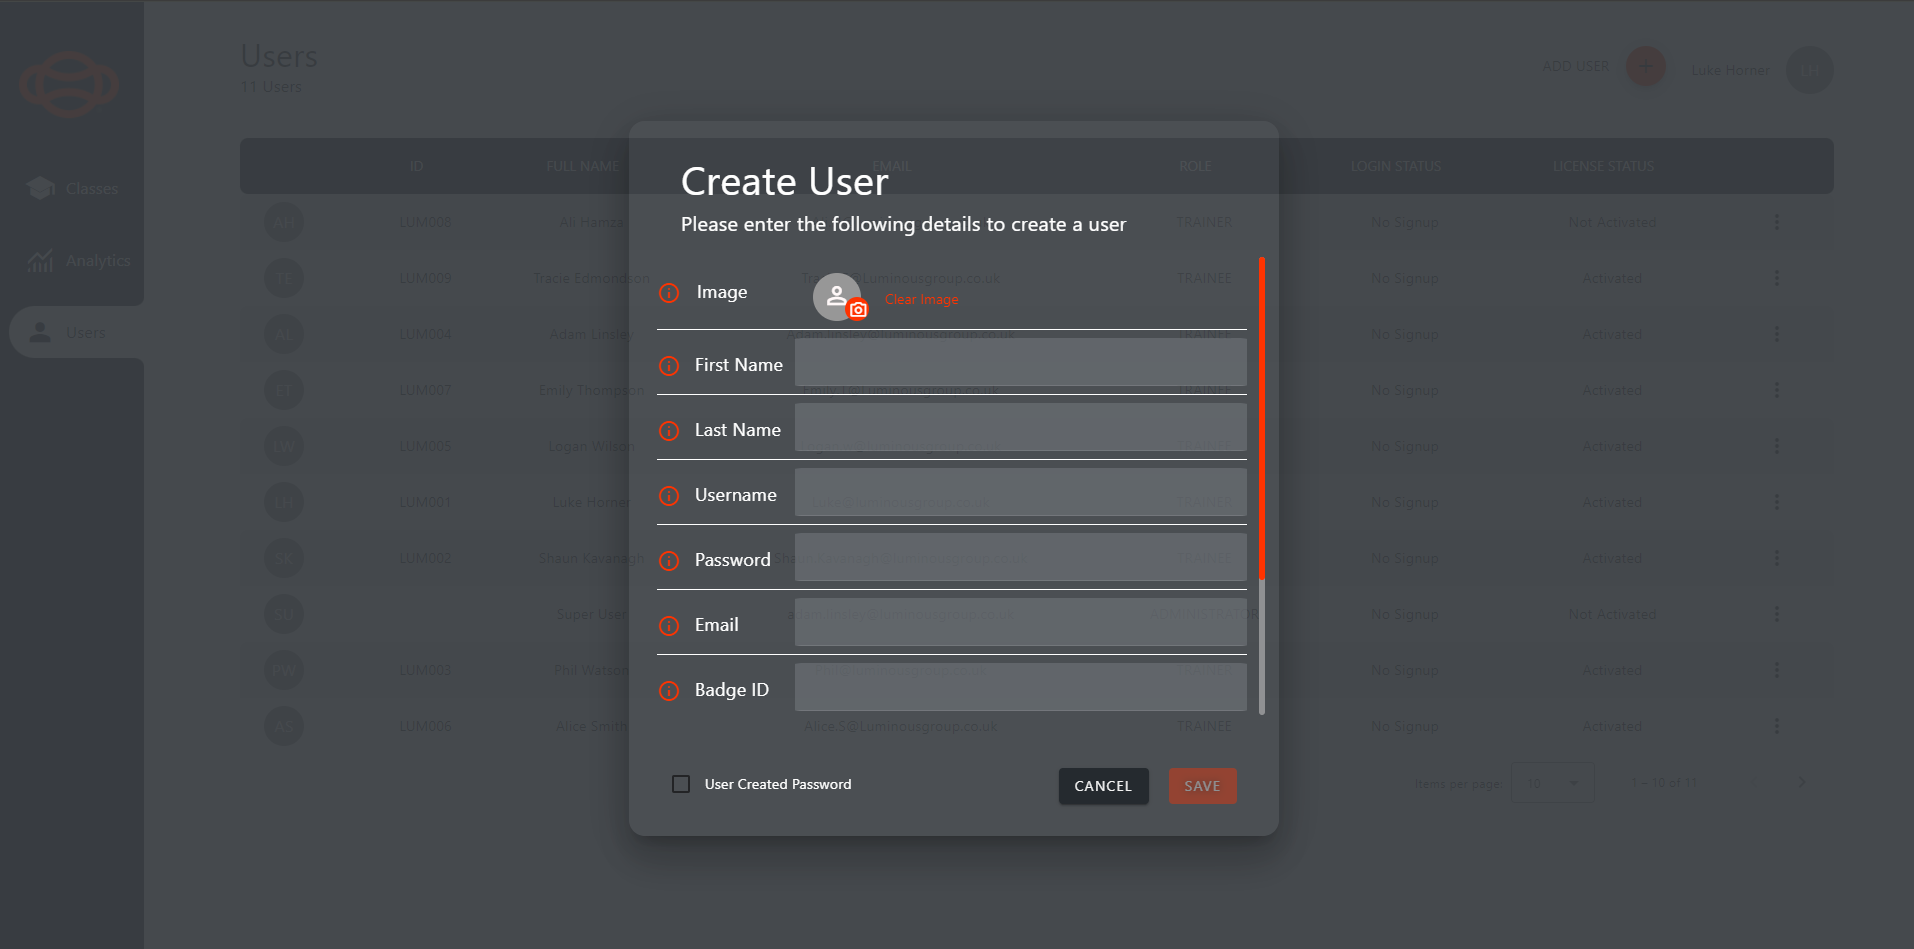
Users Page - Create User Window
Go to the All Classes page and create a new class by selecting the “New Class” button, fill in the required fields, assign the relevant content and add your Trainee to this class. NOTE: If the Class already exists, skip this step.
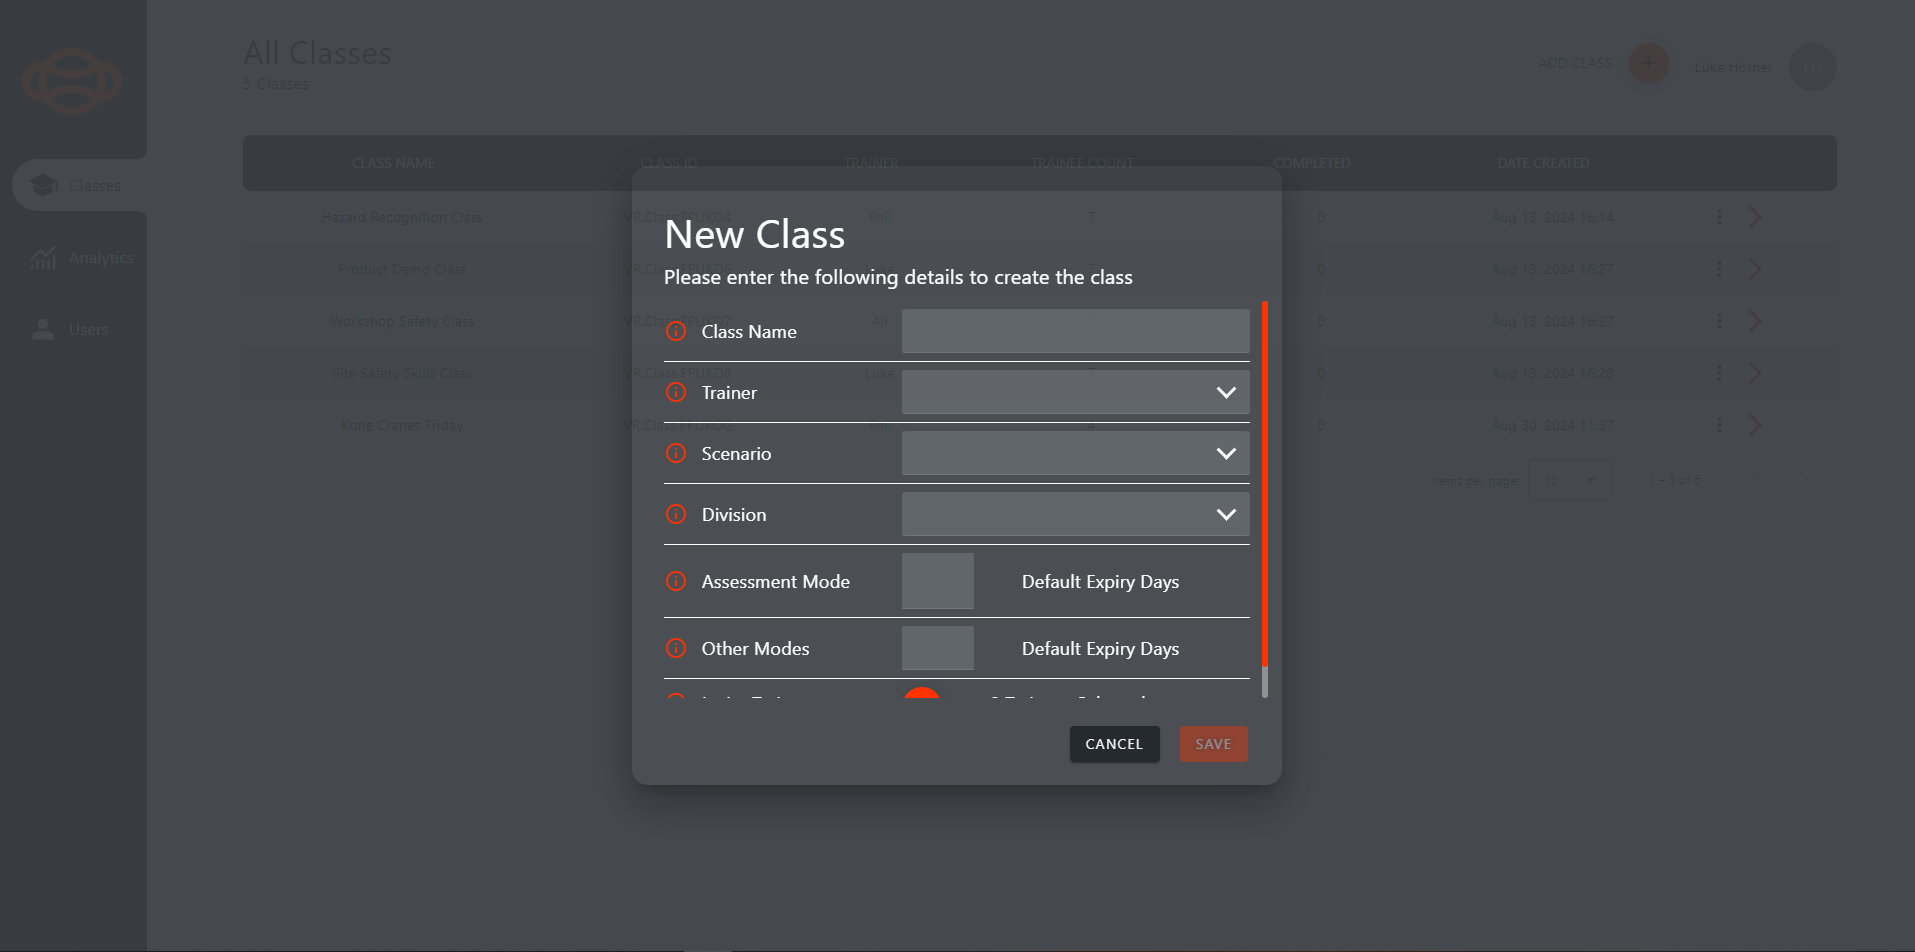
All Classes Page - New Class
Select the previously created class from the class list to enter it, select the user from the user list on the left and generate the user a pin number by pressing the “Set” button on the user banner.

Class View
Launch the content via the desktop or headset application.
Use the pin from the Portal to log in to the application.
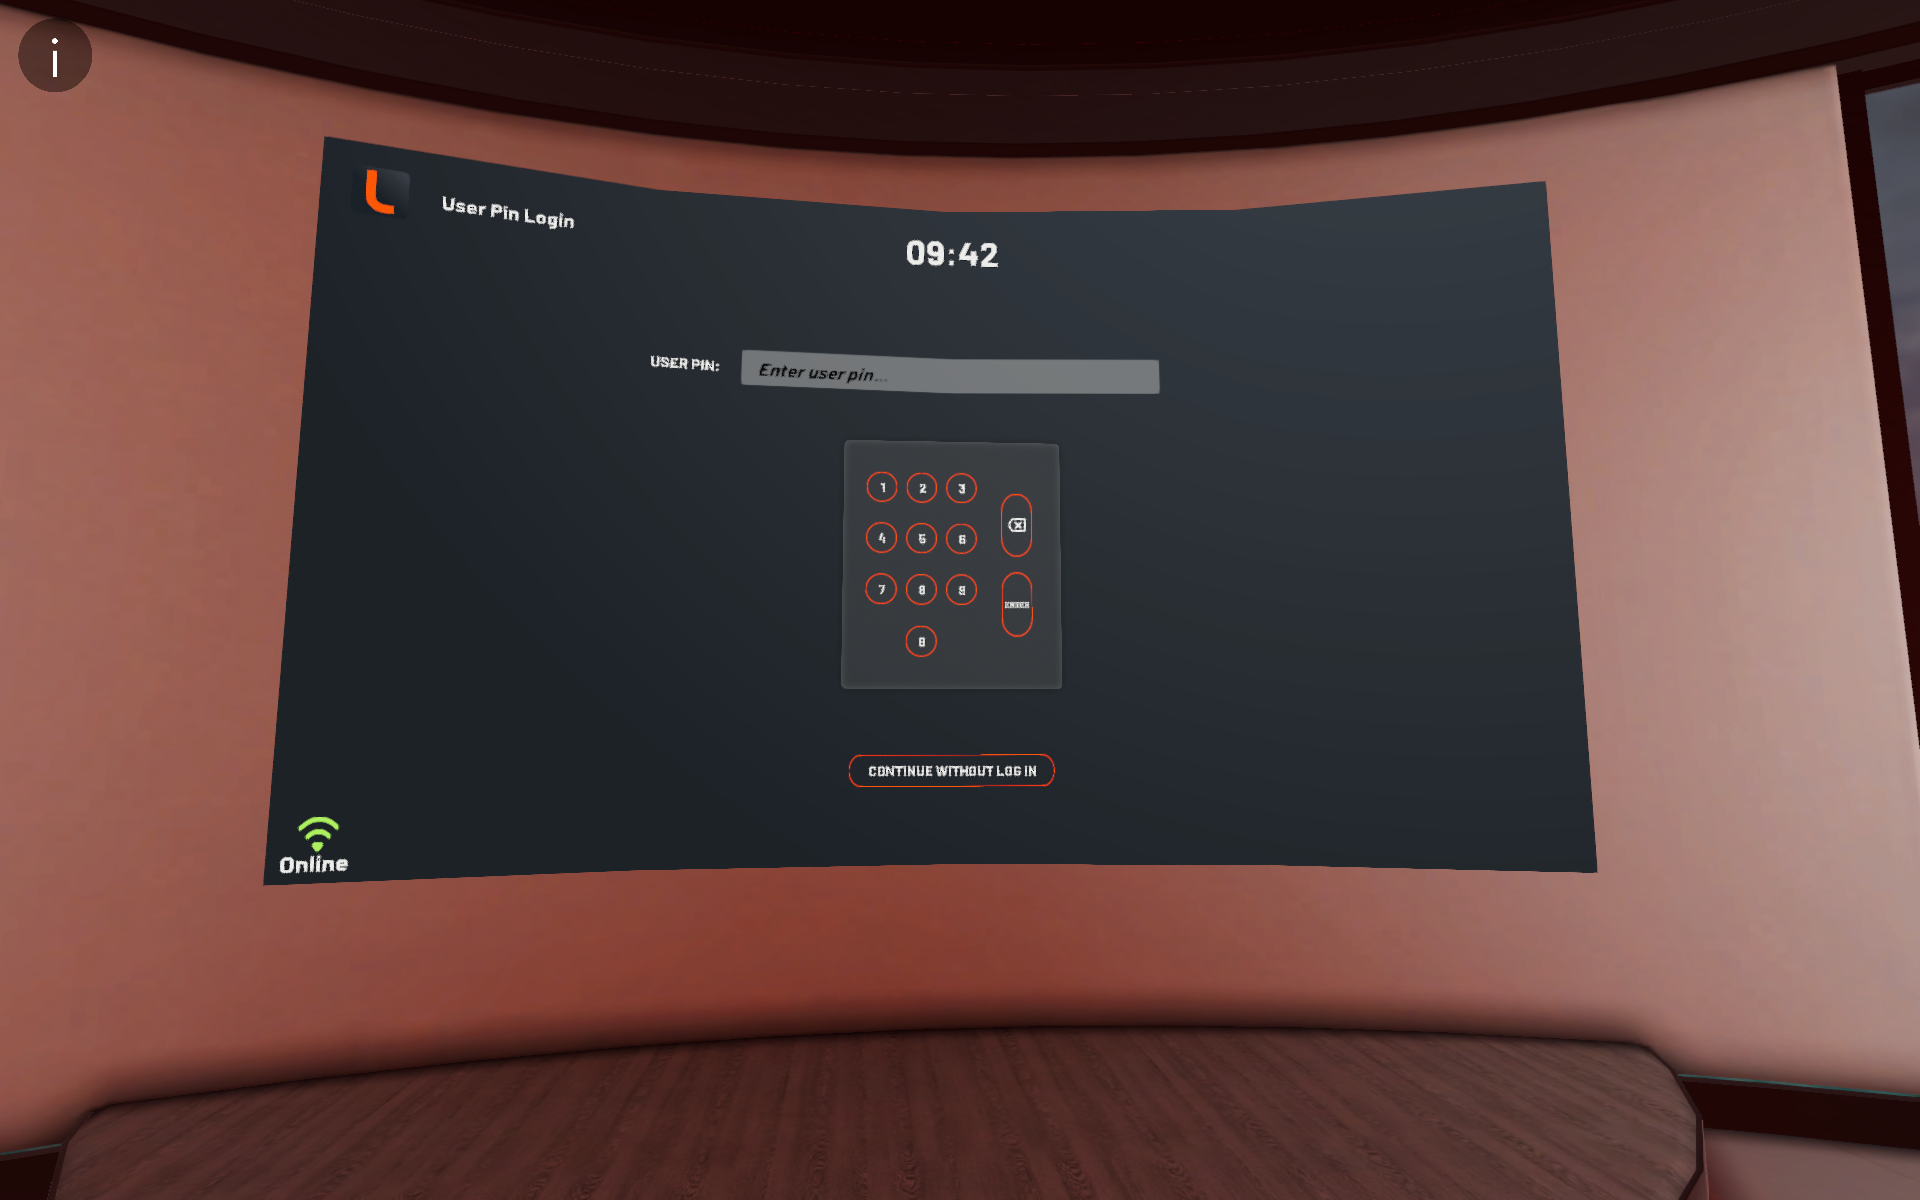
Application - Pin Entry Page
Select single user to review the “Assisted Learning” or “Practice” mode buttons, select which mode you wish to play in.
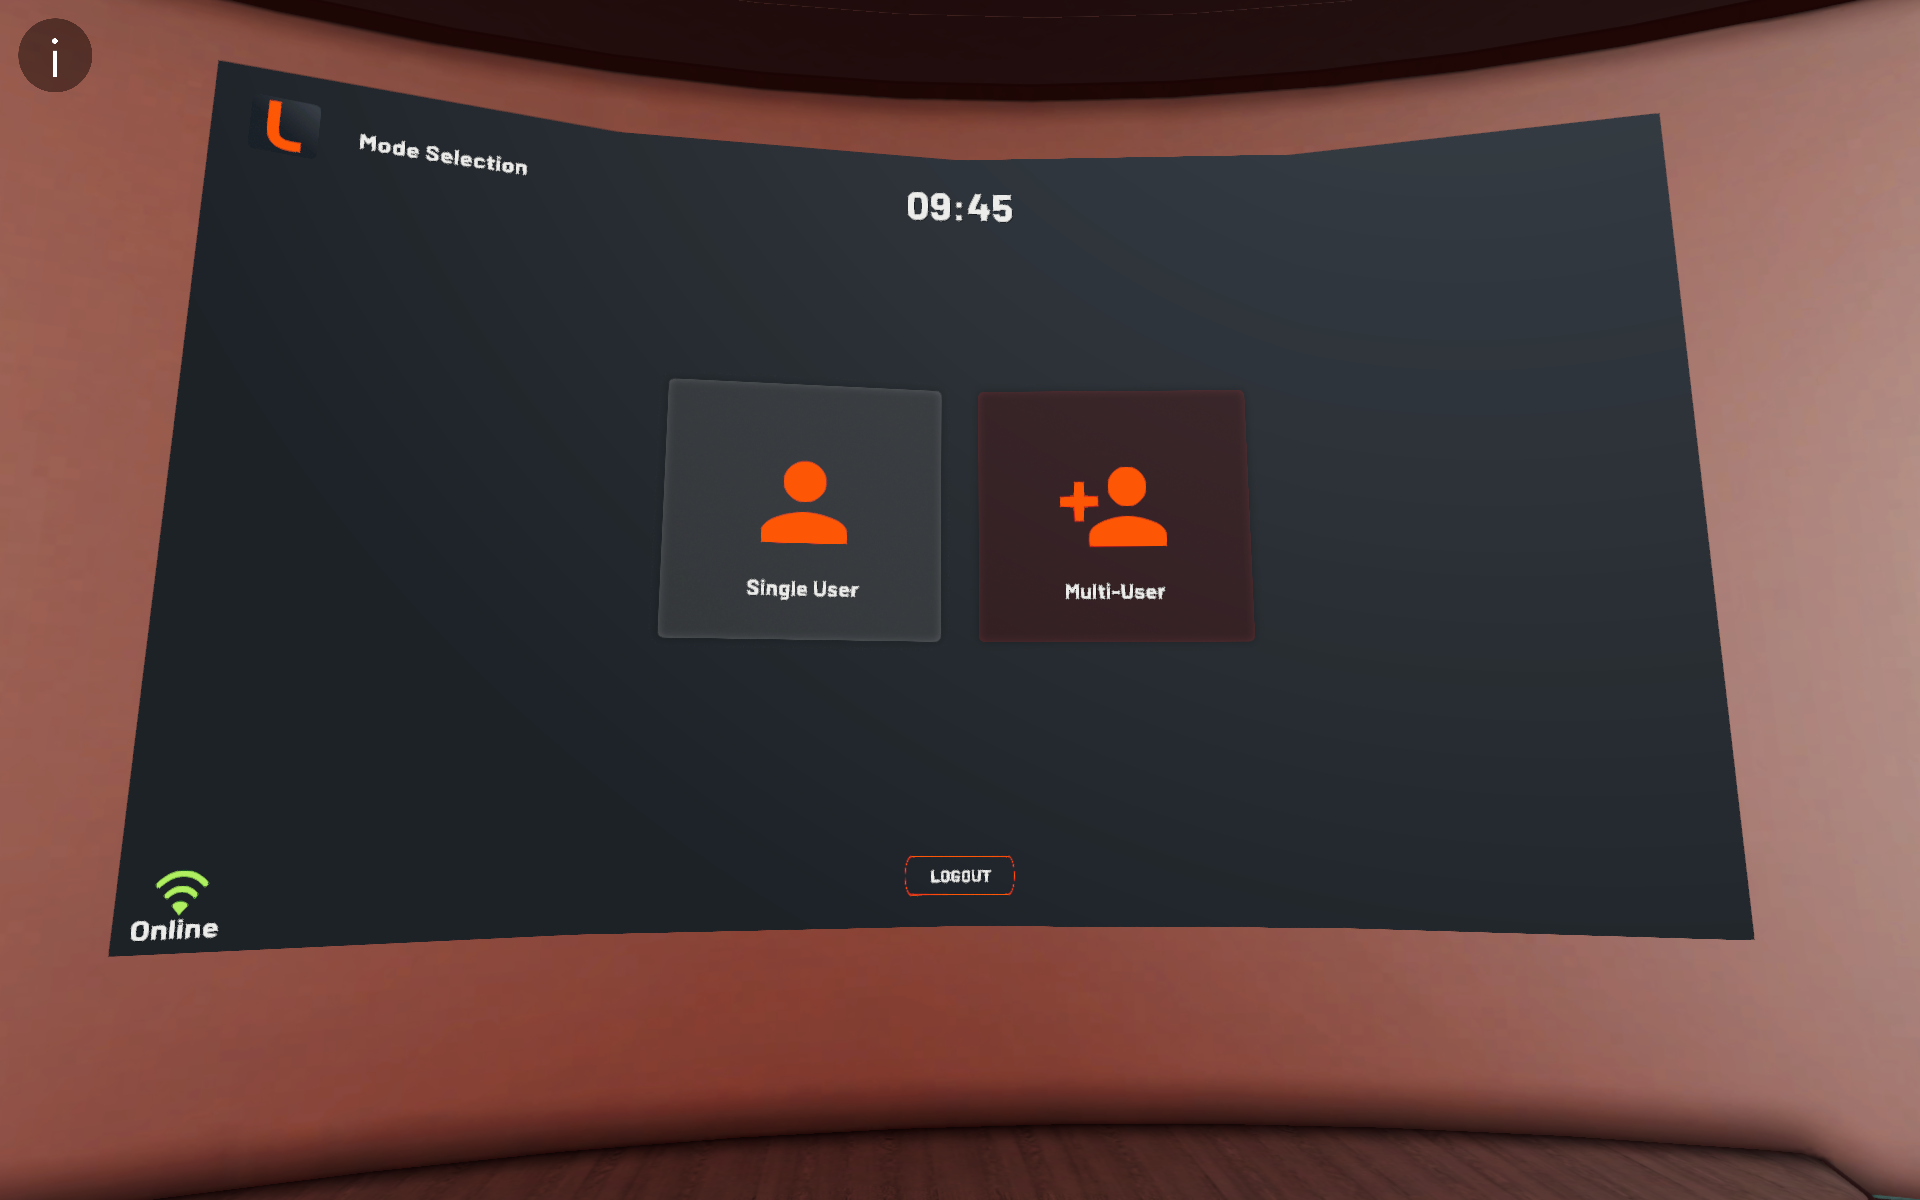
Application - Mode Selection Screen
Select the content assigned to the user to launch into the content.
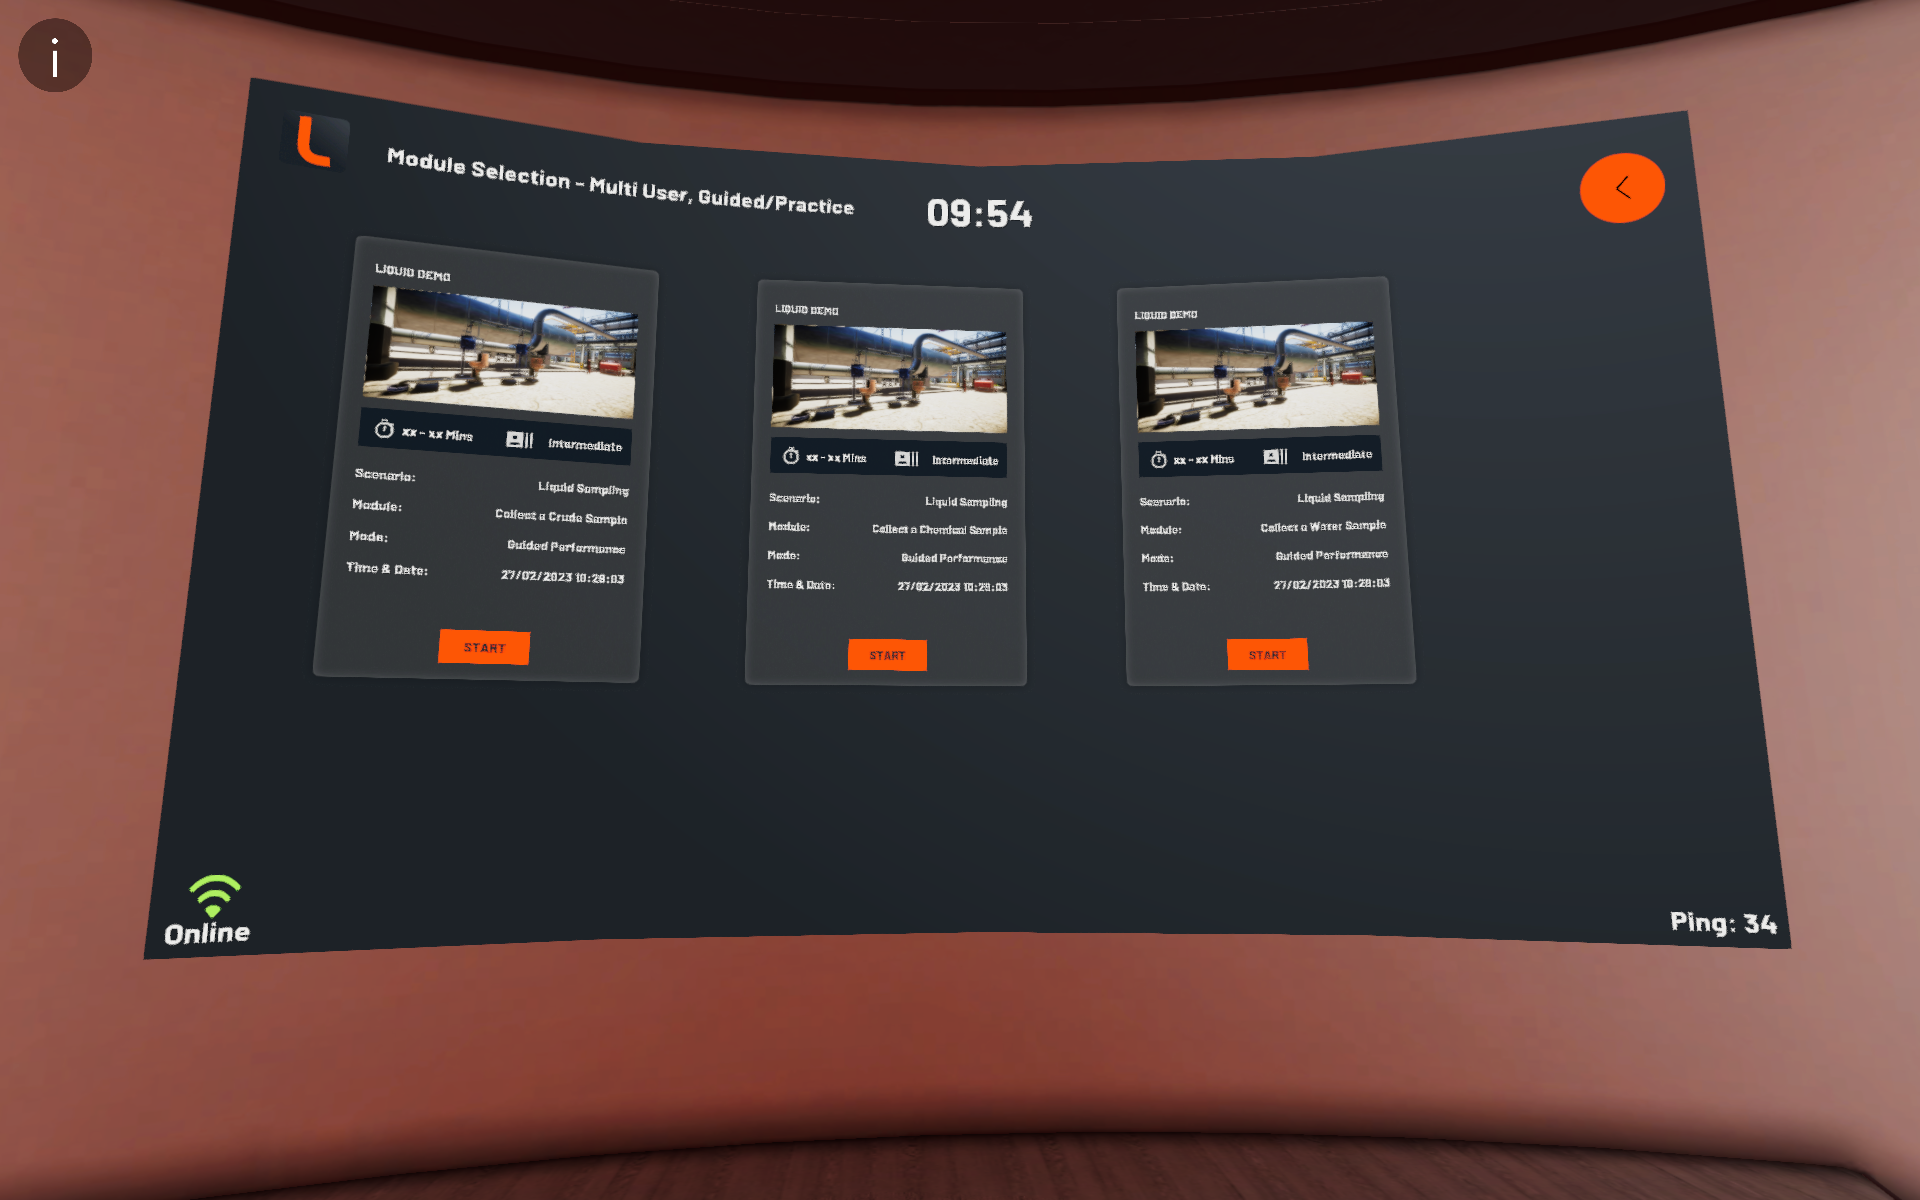
Application - Content Selection
Multiuser Content
All content needs to be assigned to users via the Portal & classes before they are able to jump in and take part in any configuration.
To start, launch and log in to the Portal.
Go to the users page and create a new Trainee & Trainer using the “New User” button and fill in the relevant details. NOTE: If the users already exist, skip this step.
User - Create User Window
Go to the All Classes page and create a new class by selecting the “New Class” button, fill in the required fields, assign the relevant content and add your Trainee to this class. NOTE: If the Class already exists, skip this step.
All Classes - New Class Window
Select the previously created class from the class list to enter it, then select the “Add Session” button on the top right to open the “New Session” window.
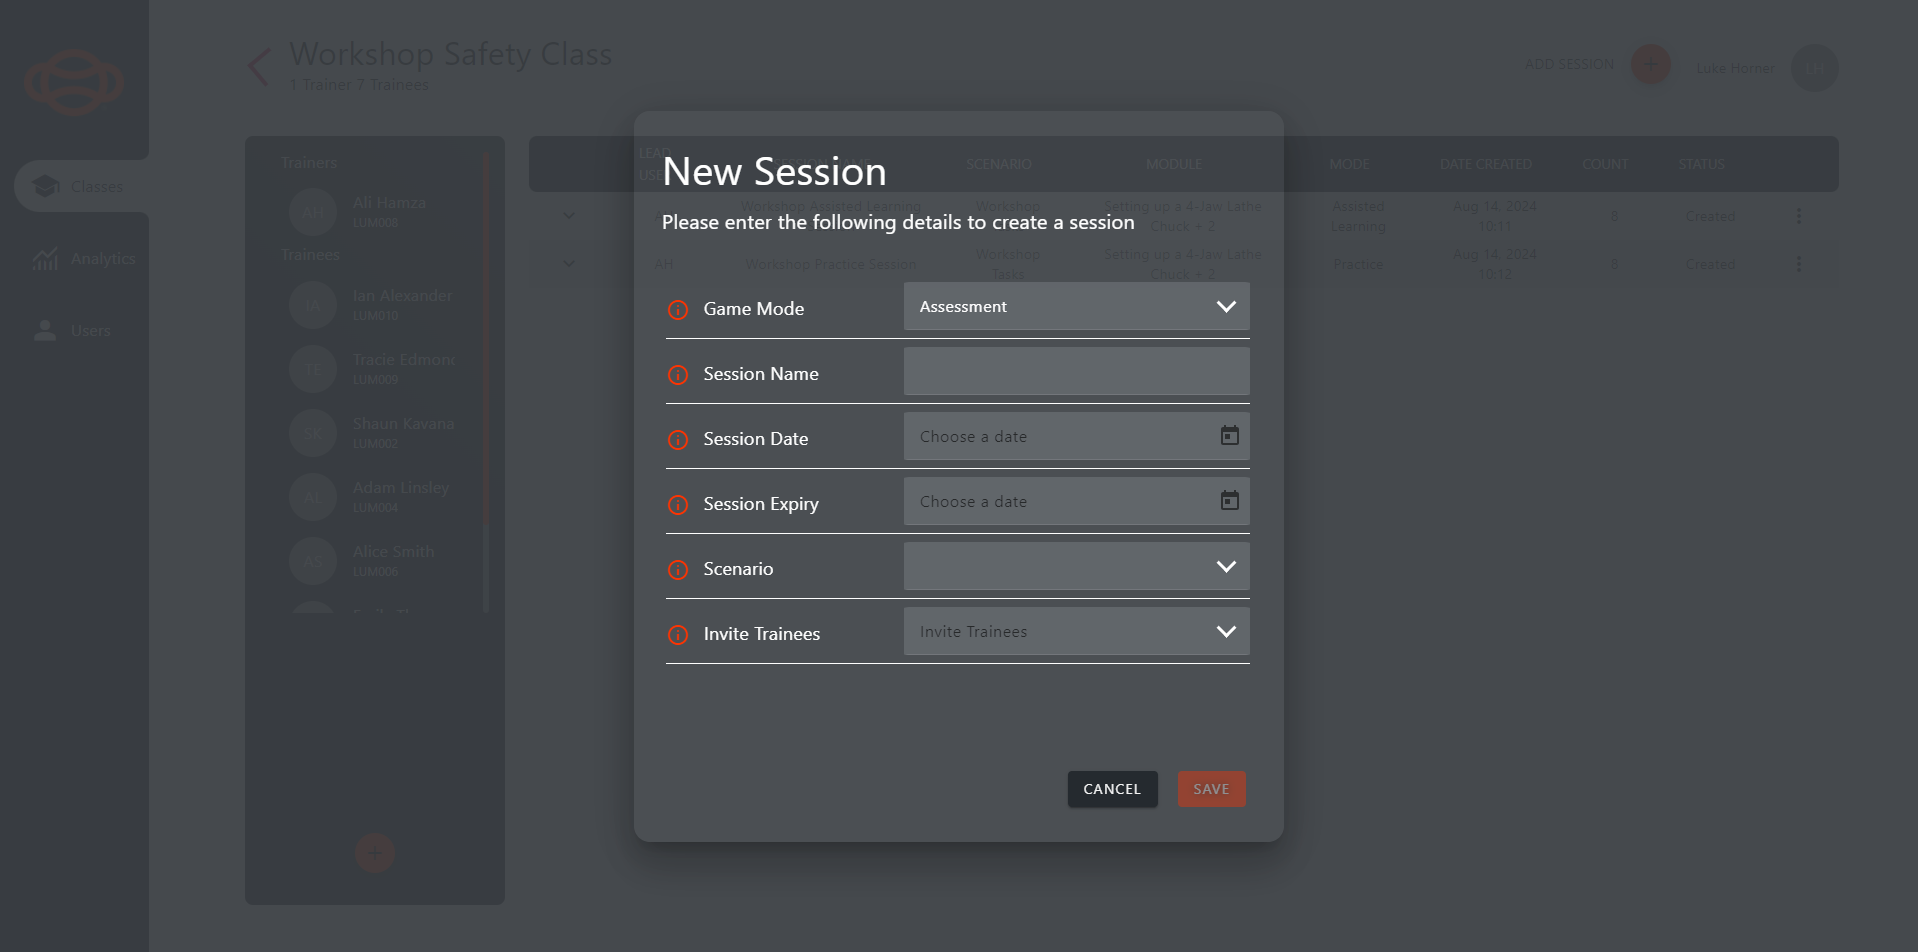
Class View - New Session Window
Fill in the details required in the new session window, select a game mode, invite all relevant Trainees and assign a lead user. NOTE: Only Assisted Learning & Practice sessions can be Multiuser.
Class View - User Selected
In the class view, select the user you wish to enter as and generate them a pin number.
Launch the content via the desktop or headset application.
Use the pin from the Portal to log in to the application.
Application - Pin Entry Page
Select the “MultiUser” button on the mode selection screen in the application.
Application - Mode Selection Screen
With Multiuser selected, you will be presented with all the sessions that have been scheduled and are active from the portal. You can join any of these Multiuser sessions, wait for your attendees and jump into Multiuser training.
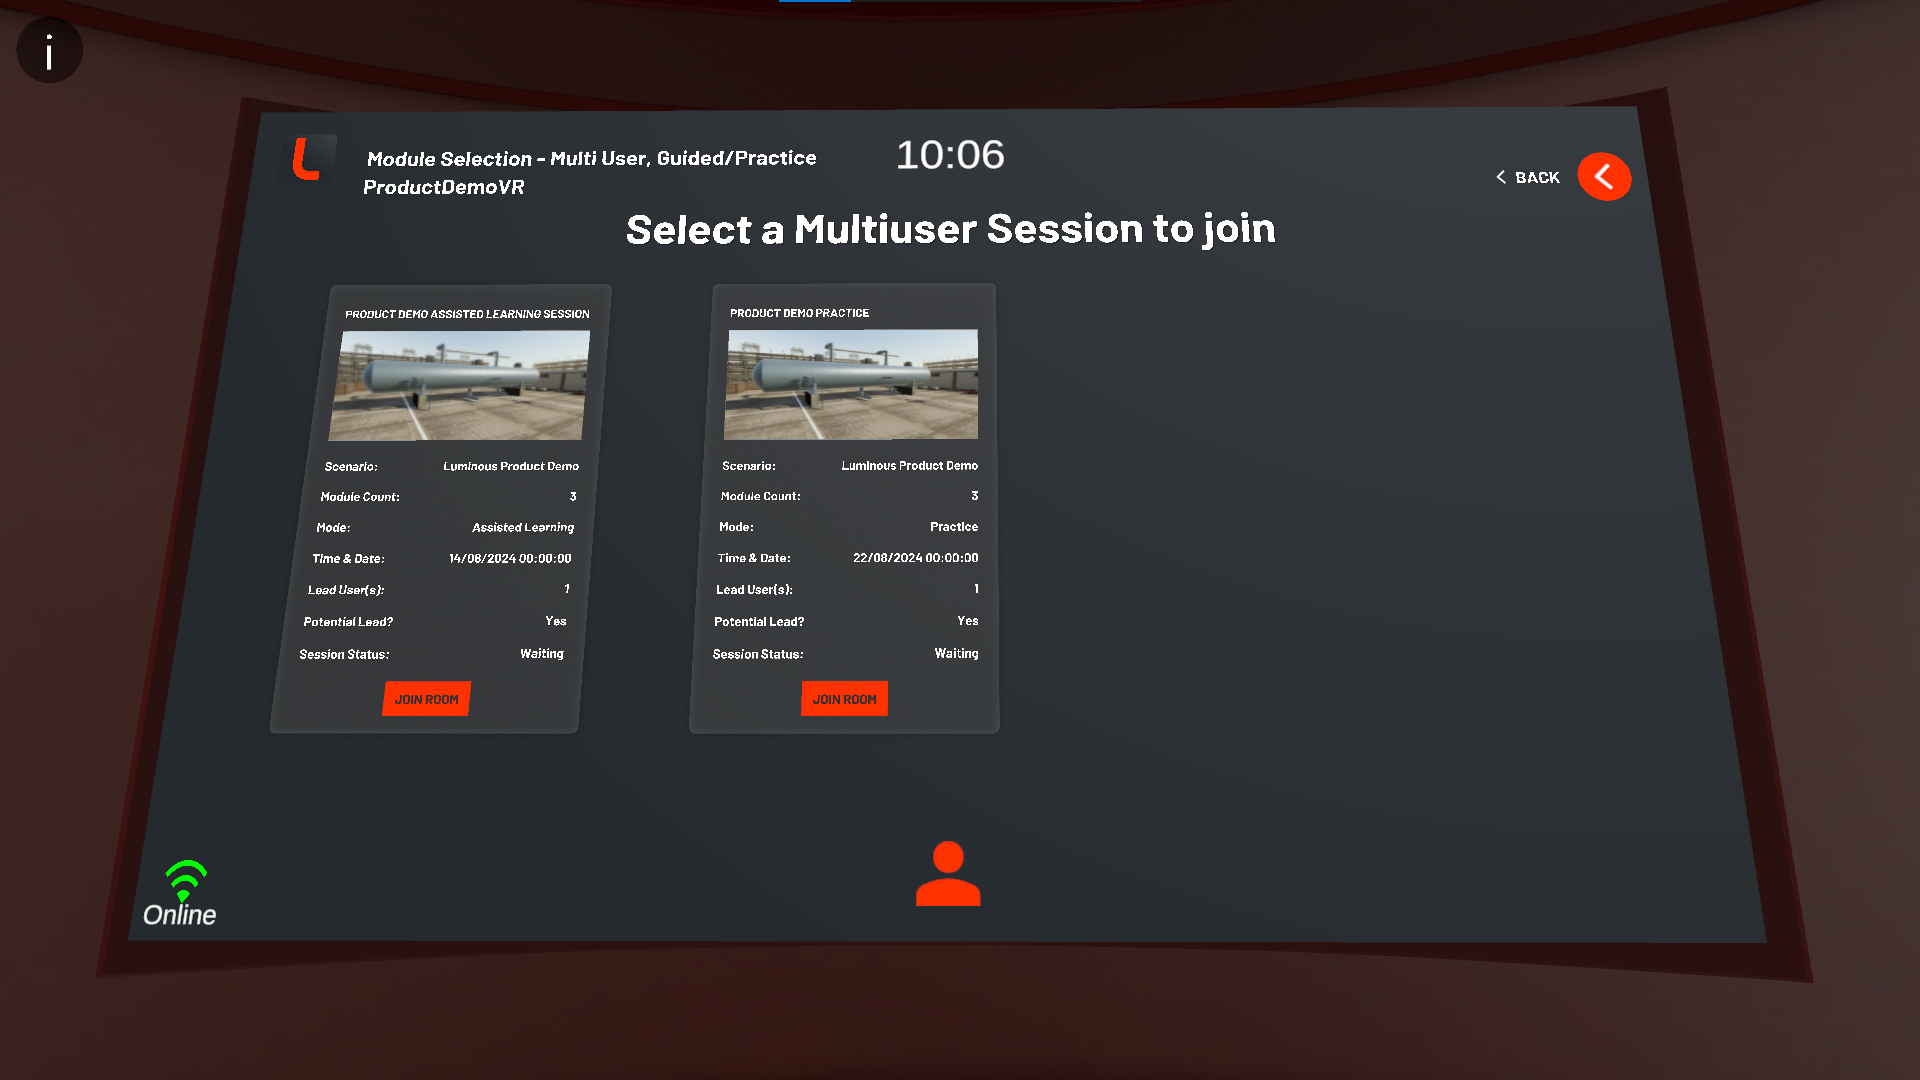
Application - Scheduled Multiuser Sessions
Once in the session, you will be able to see a list of users who are in the session, and launch any of the assigned content if you are the lead user. Trainees/Non-Lead users will not be able launch content when a Lead User is present.
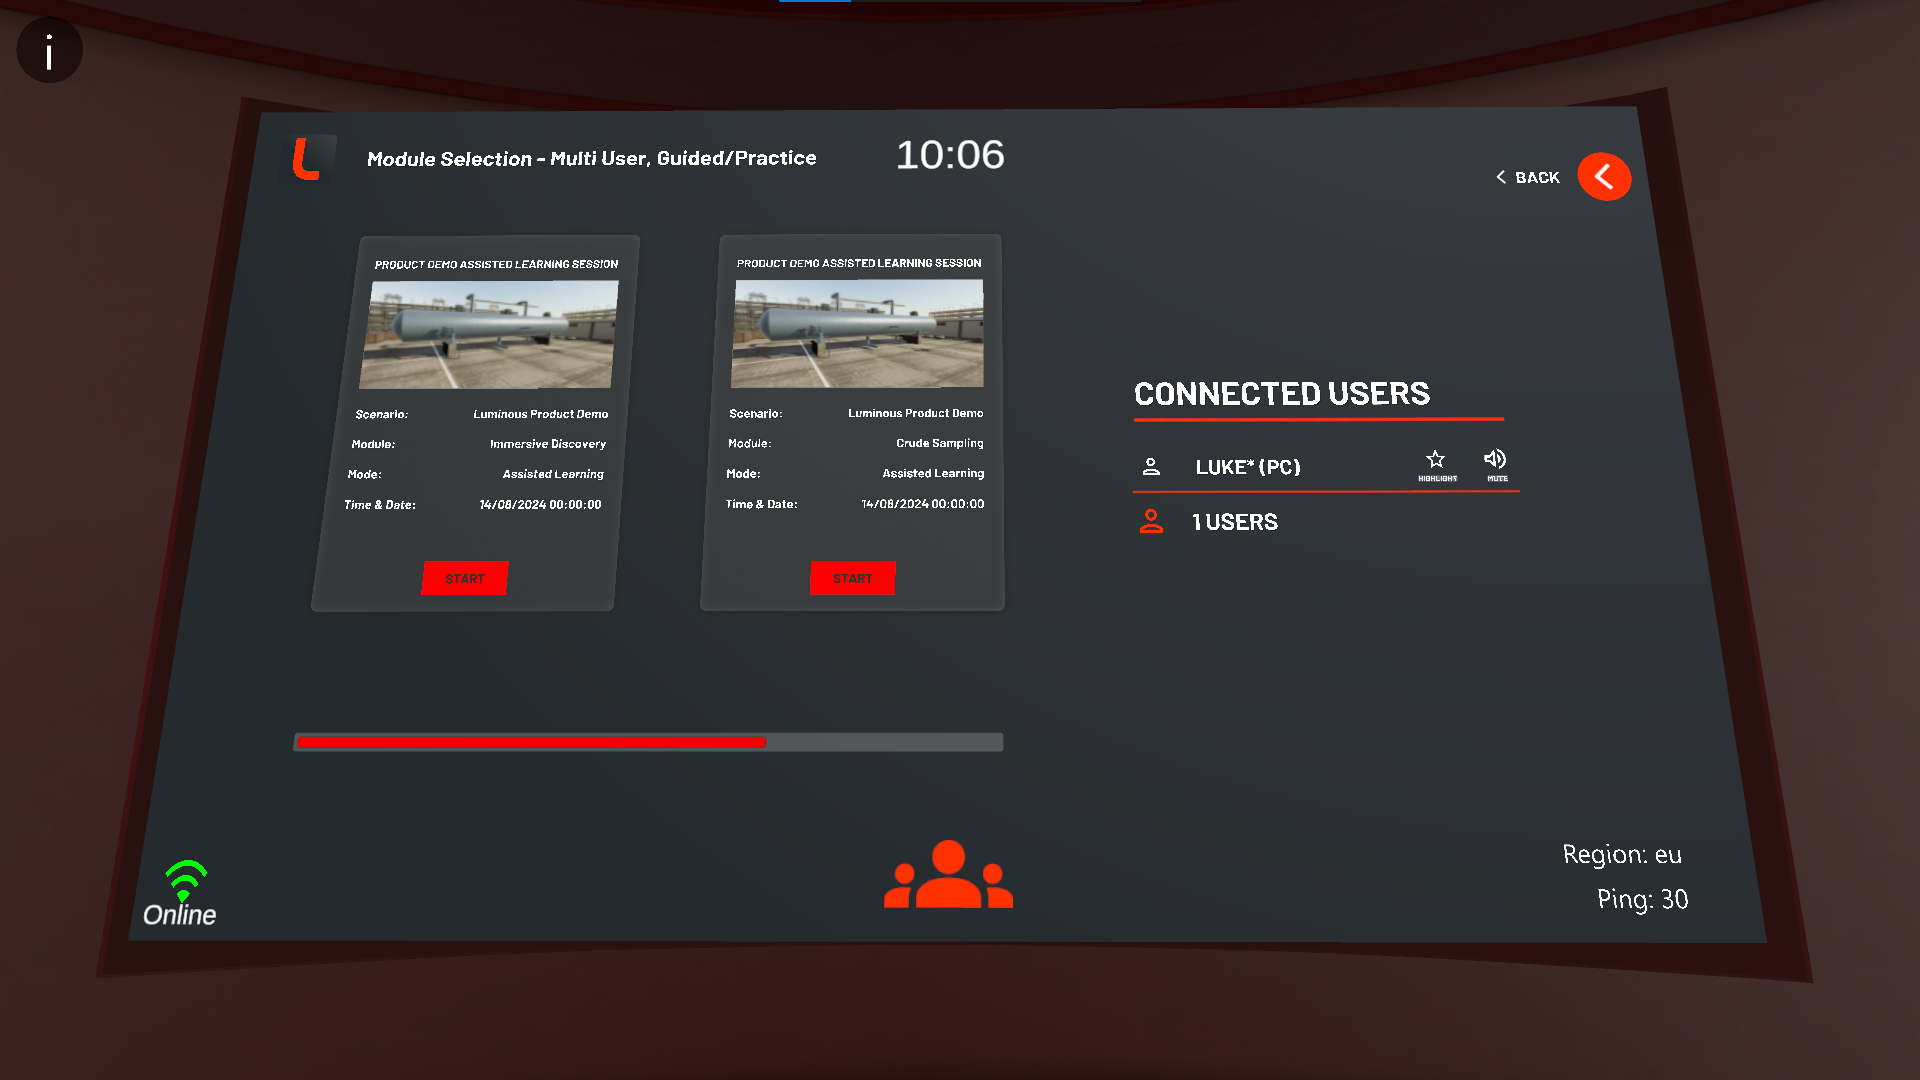
Application - Multiuser Session
Assessment Content
Looking for guidance on how to assess users on your training content? Look no further, follow the steps below to create an assessment session.
To start, launch and log in to the portal.
Go to the users page and create a new Trainee using the “New User” button and fill in the relevant details. NOTE: If the user already exists, skip this step. Only Trainees can be assigned assessment sessions.
Users - Create User Window
Go to the All Classes page and create a new class by selecting the “New Class” button, fill in the required fields, assign the relevant content and add your Trainee to this class. NOTE: If the Class already exists, skip this step.
All Classes - New Classes Window
Select the previously created class from the class list to enter it, then select the “Add Session” button on the top right to open the “New Session” window.
Class View - New Session Window
Fill in the details required in the new session window, select the “Assessment” game mode, invite the relevant Trainee, and assign the content that you want them to be assessed on. NOTE: Only 1 (one) user can be added to an assessment session.
Class View - User Selected
In the class view, select the user you wish to enter as and generate them a pin number.
Launch the content via the desktop or headset application.
Use the pin from the portal to log in to the application.
Application - Pin Entry Page
Select the “Single User” button on the mode selection screen in the application to reveal the game mode buttons and select “Assessment”.
Application - Mode Selection Screen
With Assessment selected, you will be presented with all the assessment sessions that have been scheduled and are active from the portal. You can join any of these assessment sessions to perform your assessment.
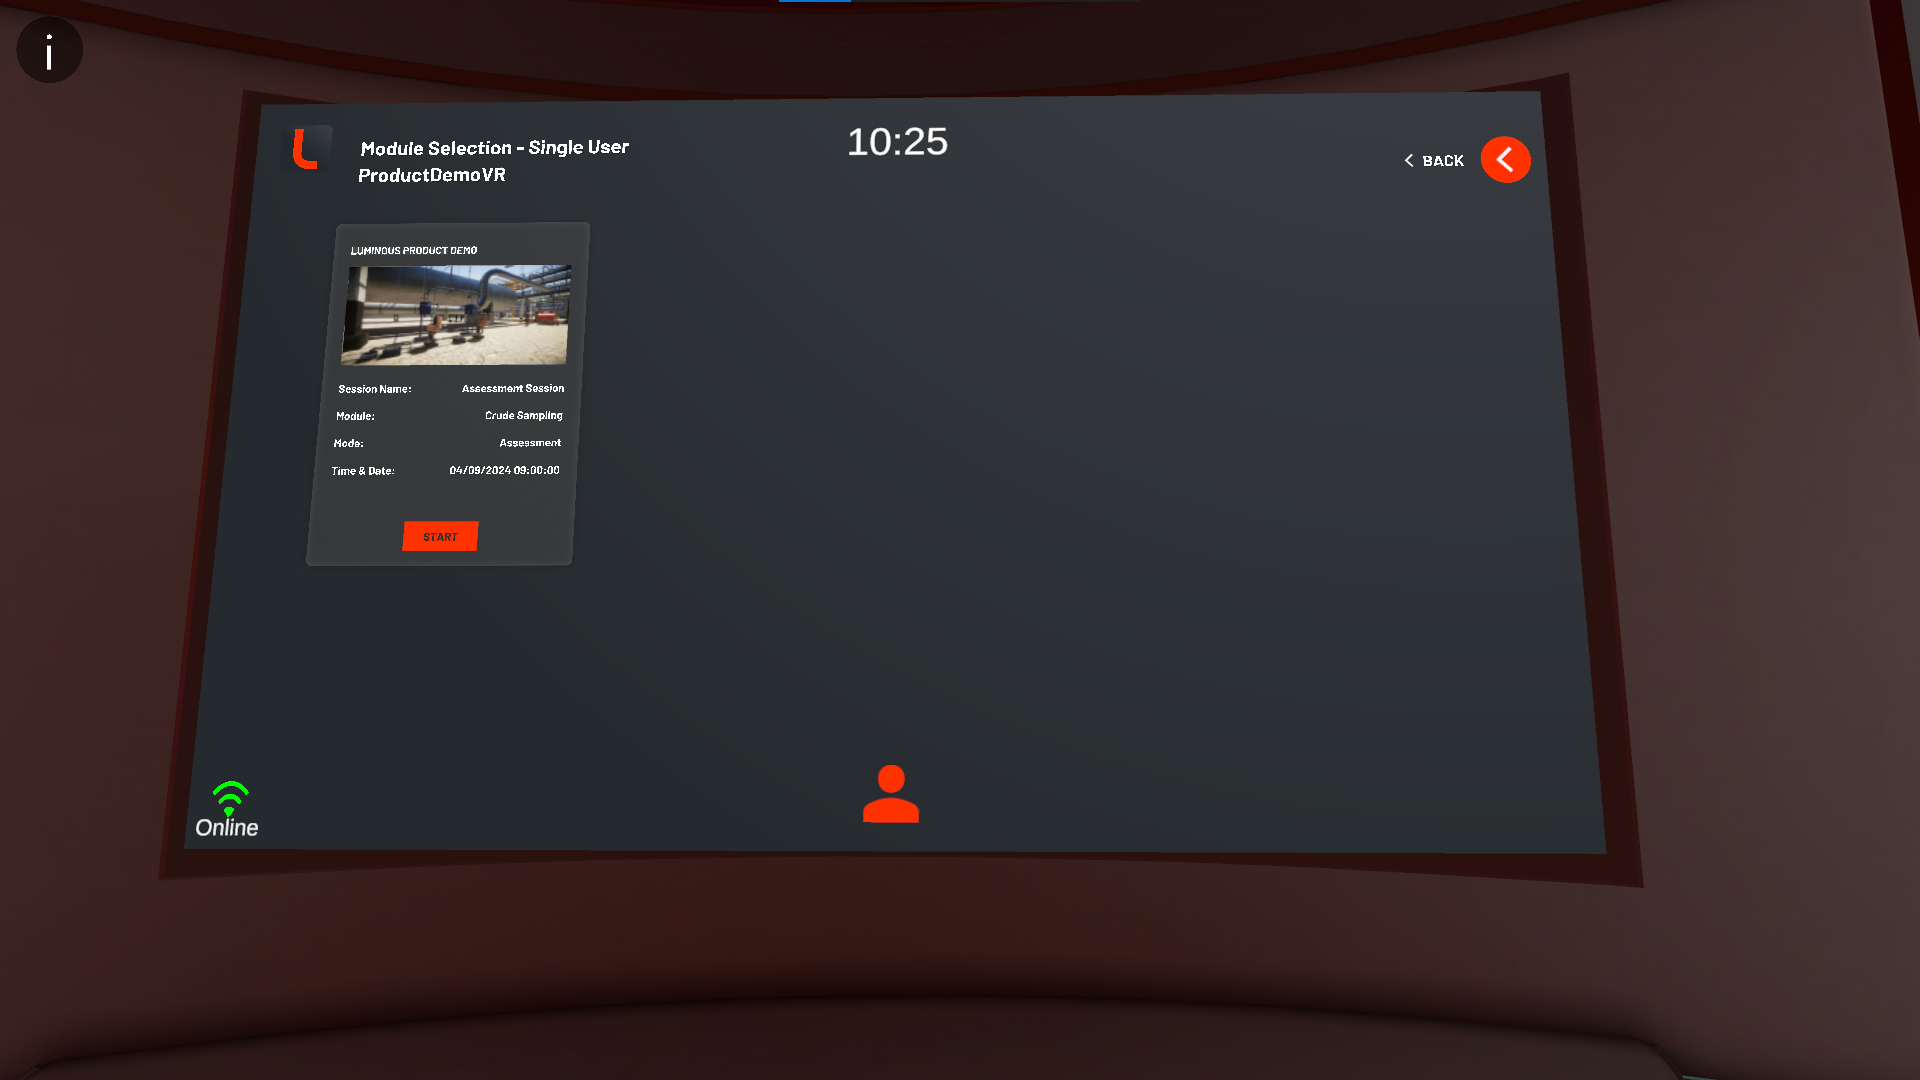
Application - Assessment Sessions