Localisation
Flow offers robust localization features to make your content accessible to a global audience. Whether you're creating immersive training scenarios, educational simulations, or interactive experiences, Flow's localization capabilities ensure that your content speaks to users in their native language, making it more engaging and effective.
The text you write in the your graphs will be localised. Show display steps and actions will also be read aloud using text to speech.
Supported Languages
Currently flow fully supports localisation in these language:
English
French
German
Italian
Portuguese
Dutch
Polish
Spanish
We can additionally support, not through the Flow Setup tool:
Greek
Romanian
Russian
Serbian
Turkish
Chinese (Simplified)
For these languages or other languages not listed feel free to get in touch for guidance on how to get these setup.
Support for languages that use different text alignments and orientations such as Arabic is on the horizon.
Set Up
During the Luminous Flow set up you should have applied some starter localisation settings using the Flow Setup window located in Luminous > Flow Setup.
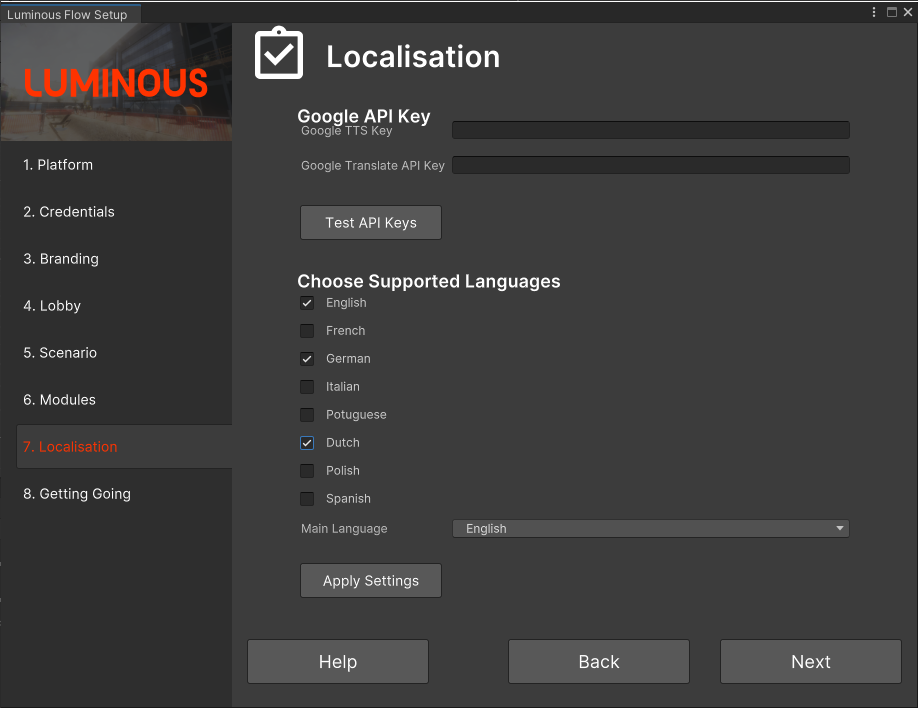
The Localisation Page on the Flow Setup Window
This will set have set up the foundation for making localisation to work.
The next step would be to generate these translations and TTS audio clips. To do that go to the Luminous menu option and select Localisation.
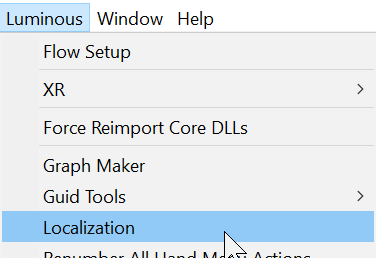
The location of the Localisation Window
The localisation window will now show. Click on Fresh Project.
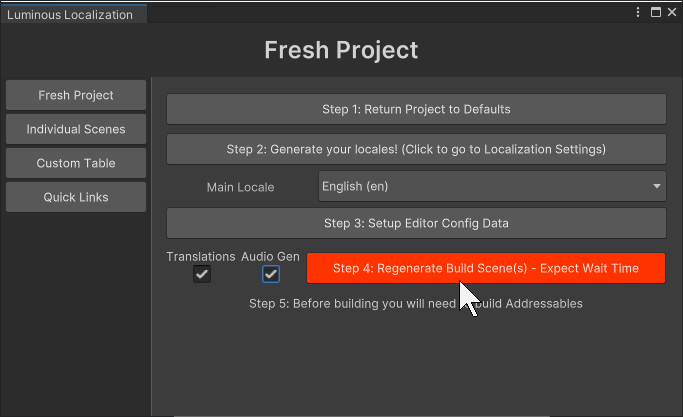
The Fresh Project Page
To make all your text you have written in the Graph be translated to the supported languages you have supported as well as audio be generated for show display select the Translations and Audio Gen check boxes then press “Step 4: Regenerate Build Scenes”
After pressed the Luminous Localisation settings will then attempt to translate all your text to other languages and create audios. This step can take a while.
Testing
Once finished you can then play a module and you should hear the new TTS audio for each display step or action. To test your translations and audios for another language you use the dropdown located in the top right corner of the Game window. Use this to change the currently active language.
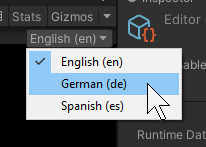
The dropdown used to change the language at Runtime in the editor
Now when you enter play mode your display steps should show the respective translations and play the audio clips for that language.
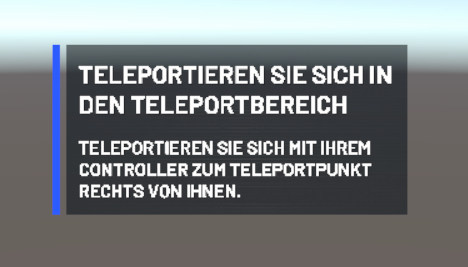
A Display step being shown in German
For your end users to change which language the app displays in they must do so on the lobby screen. After you log in with your pin and get to the Mode Selection Page you will be able to select the the flag icon in the bottom right,
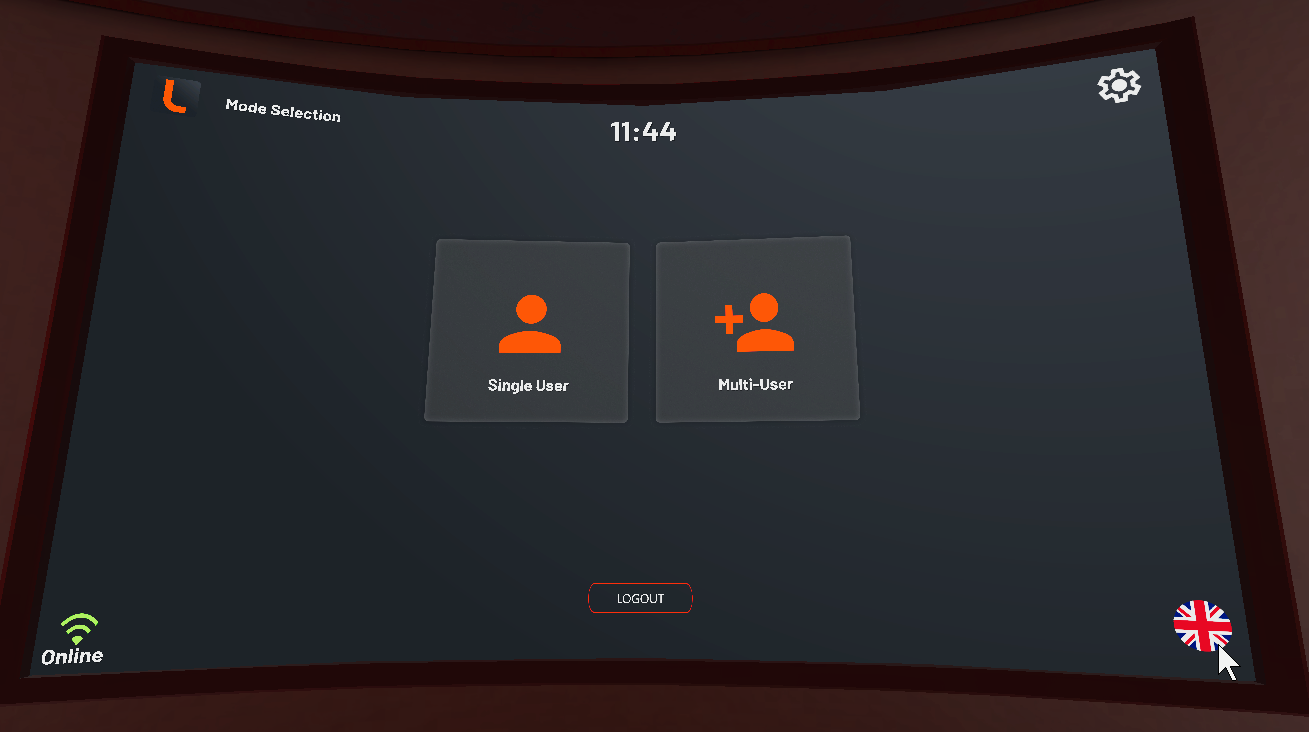
The Flag Icon showing the current language
Pressing this opens the page where your supported locals are.
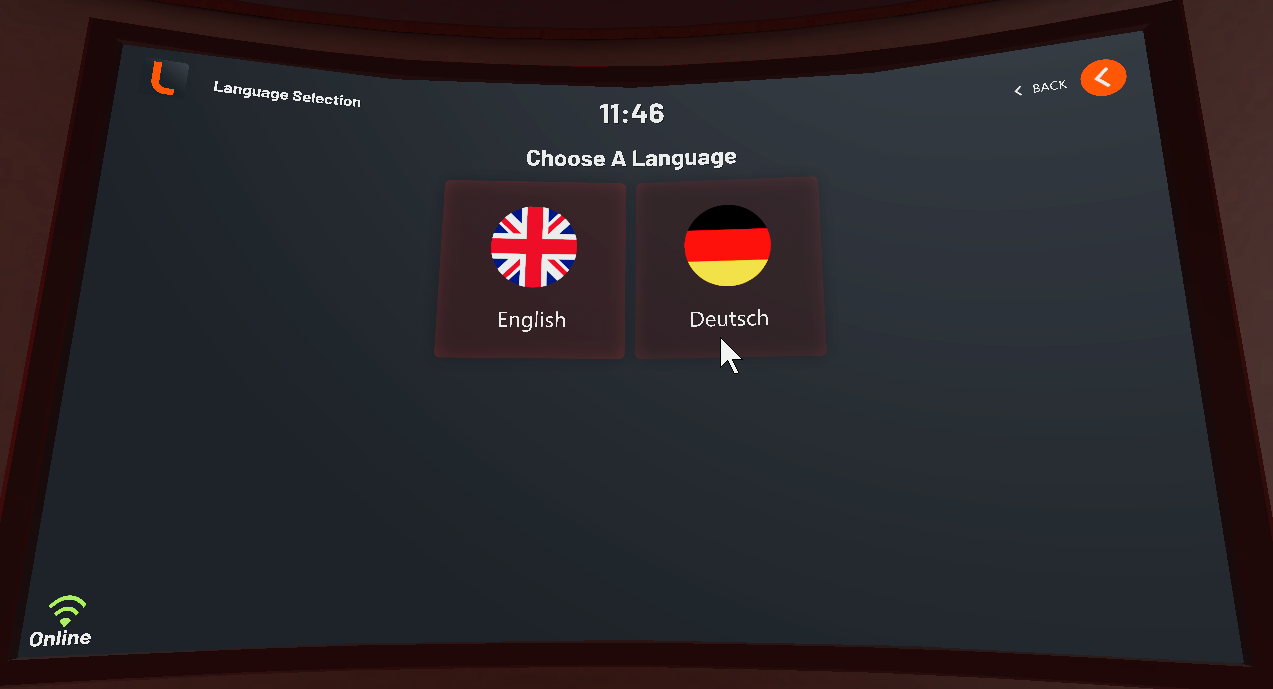
The Choose a language page
If you want to test your new translations in a build then don't forget to build Addressables as per our building an app guide
Custom Language selection Text and Images
It is also possible to change the flag/image displayed for each Language as well as the name for a Language. This can be done by editing the “ProjectLanguageData“ asset located in “Assets > Resources”
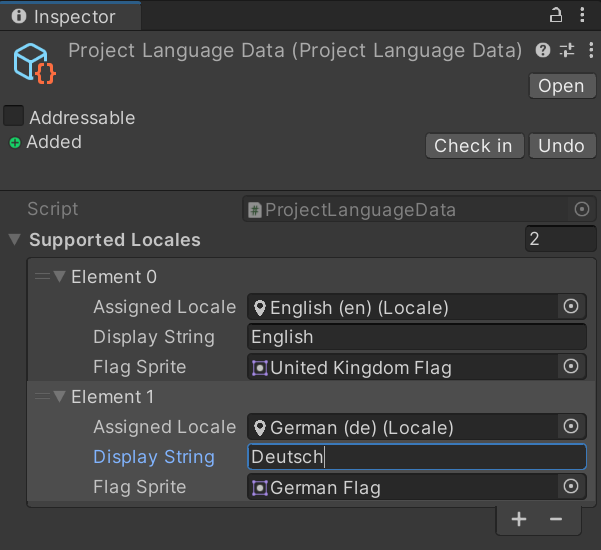
Project Language Data Asset
Change the Display String or Flag Sprite to change how the Language is visually displayed on the Lobby Screen.
