Installation Guide
Welcome to the Installation Guide for the Flow SDK. This guide outlines step-by-step instructions for a straightforward download and installation of the Flow SDK package locally.
You can watch our full set up video below, or work through the documentation provided:
https://youtu.be/KwGA4shLmooMake sure you have followed the Pre-Requisites guide first to ensure you're all ready to go.
Unity Hub
Open Unity Hub and click new project. Ensure the Unity version is 2022.3.20f. Next select the “Universal 3D” template so your new project starts with the Universal Render Pipeline enabled.
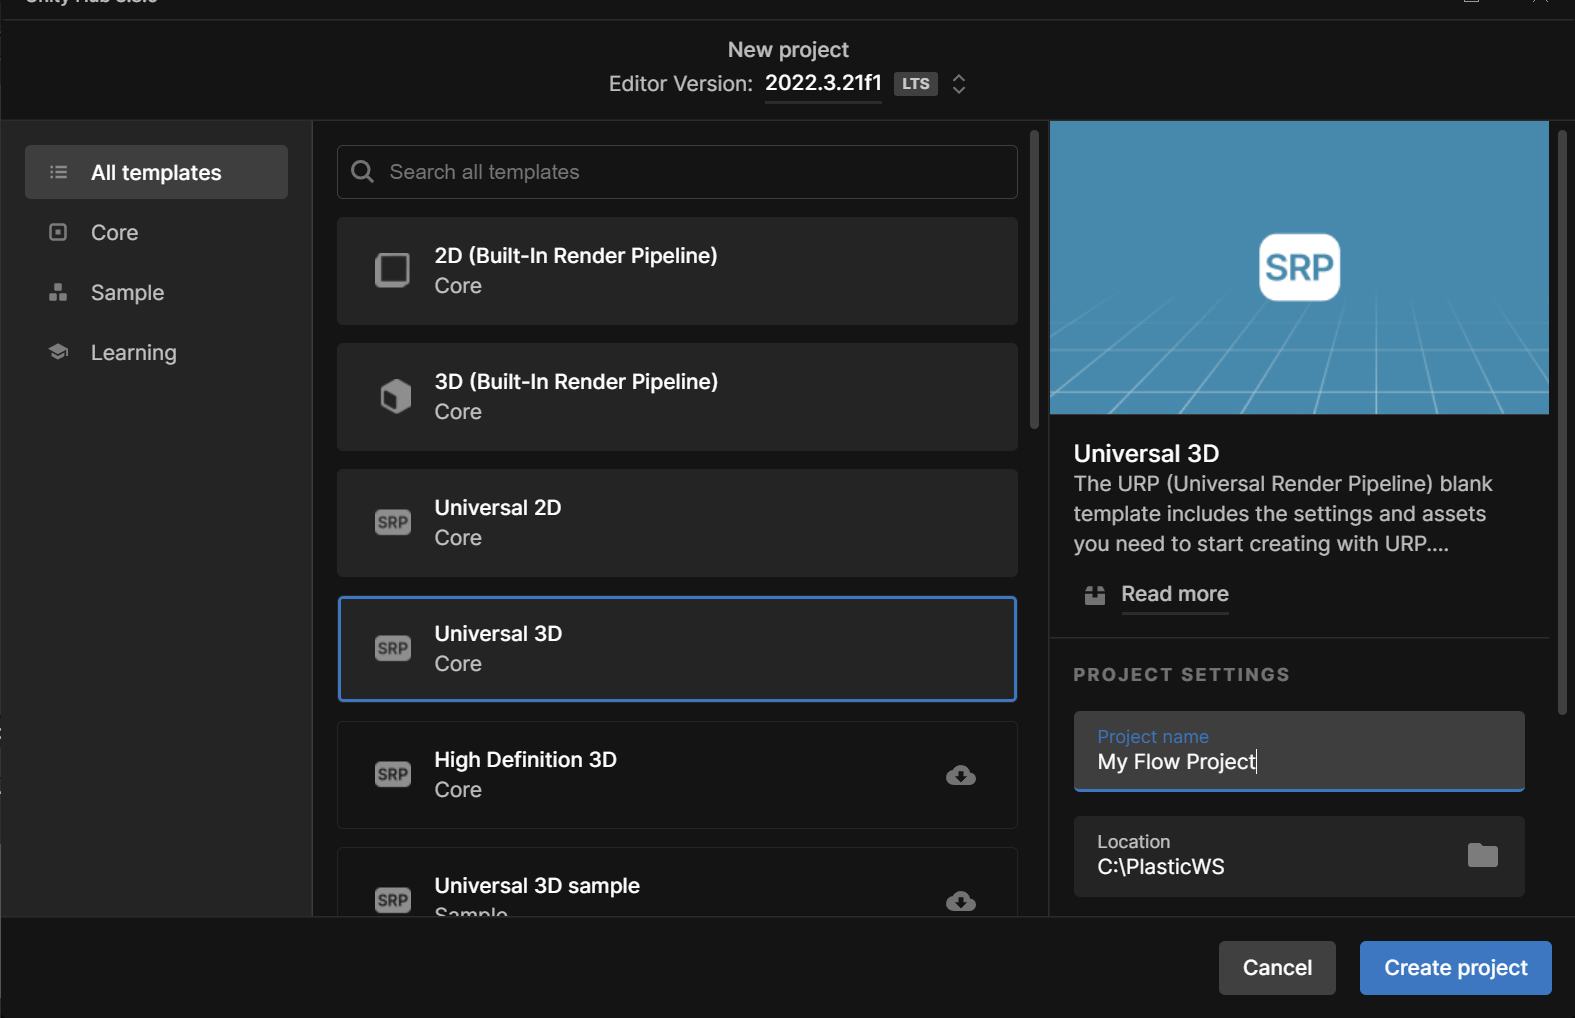
Creating a new 2022.3.20f Unity Project using the Universal 3D template.
Unity Editor
Once the project loads the first step is to download the Photon PUN 2 and Photon Voice 2 package within the package manager. They will be located under My Assets as long as you have added them via the Unity Asset Store first. After they have downloaded, import them into the project.
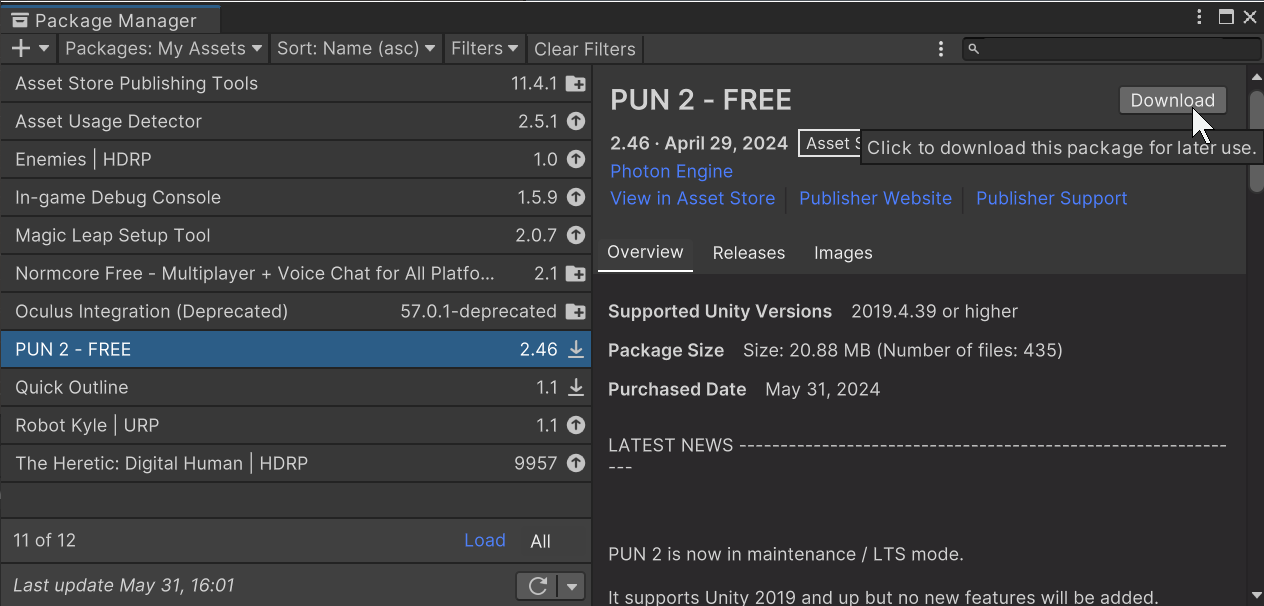
Downloading PUN 2 from the package manager.
Now we are ready to import the Flow SDK into our project. Drag the Flow-SDK package into your project or double click on the package and follow the prompts described below.
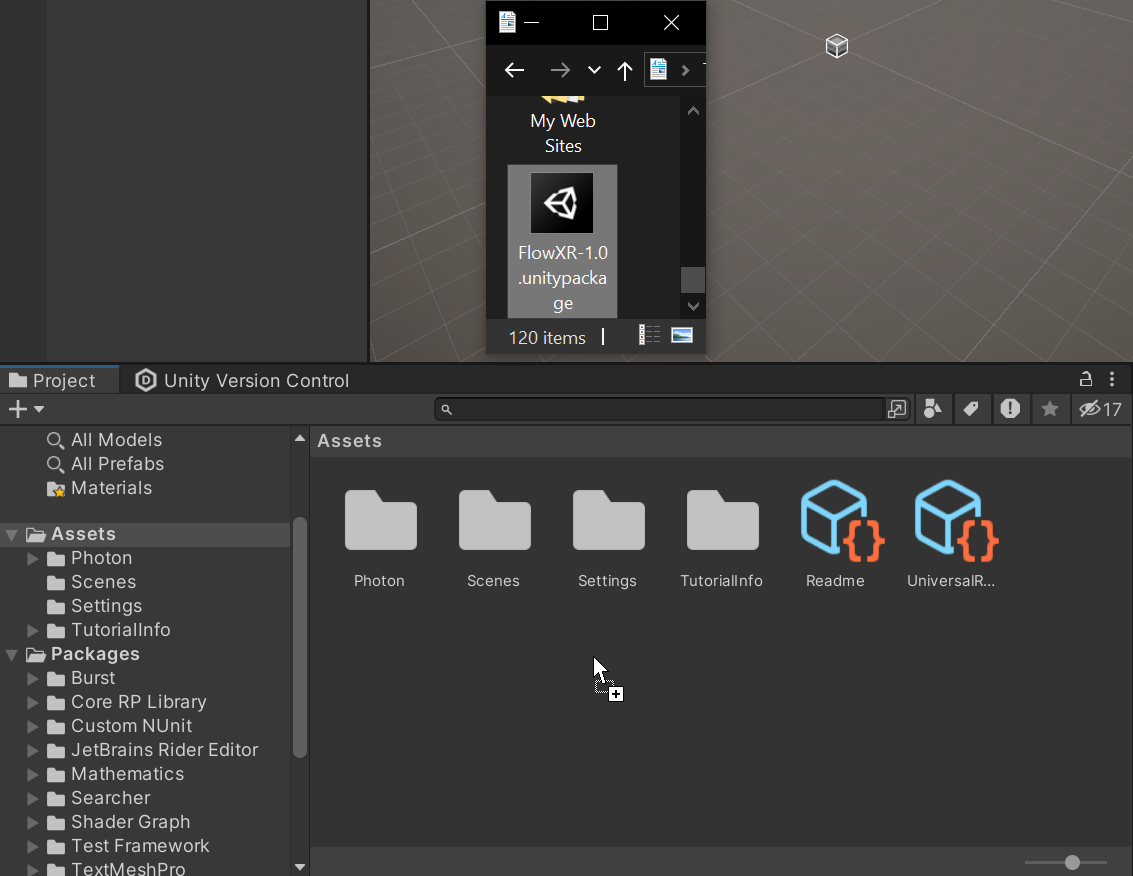
Dragging the Flow Package into the project.
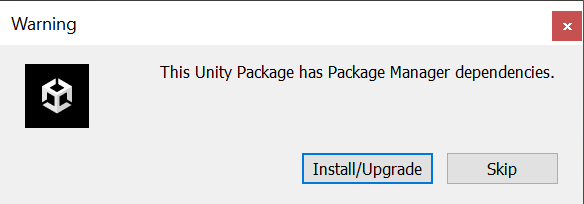
A pop up warning about Package Manager Dependencies will appear. Click Install/Upgrade here.
Upgrading the Packages Dialogue
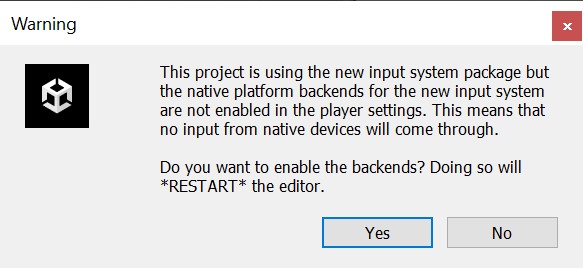
Next a popup regarding using the new input system will appear. Click yes.
Input system Dialogue.
After pressing yes on the Input Dialogue, the editor will restart. To continue with the Flow setup you need to drag the Flow-SDK package into your project or double click on the package again.
Now the option to import the Flow-SDK files and folders will appear. Click Import.
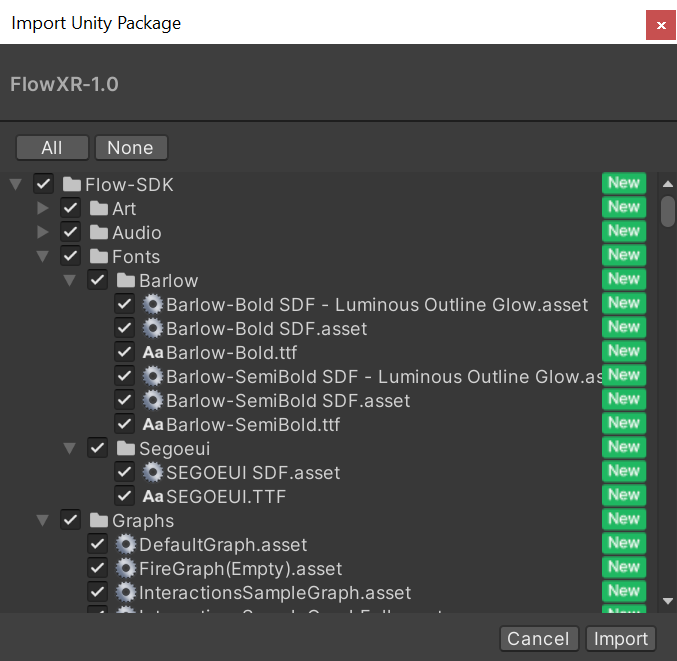
Importing the Flow-SDK Files and Folders.
We must then include required scripting definitions:
File → Build Settings… → Player Settings… → Player → {Platform Tab} → Other Settings → Script Compilation
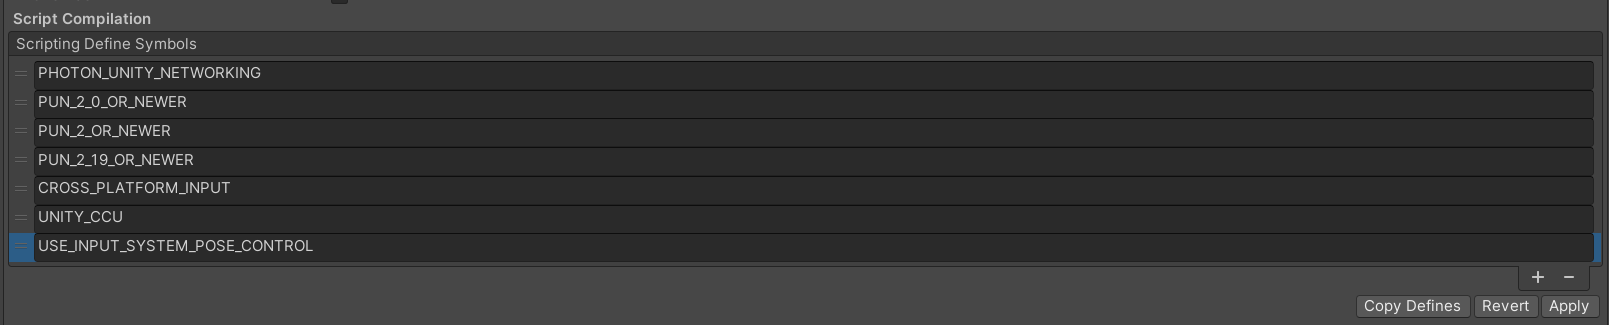
The list can be found below:
PUN_2_0_OR_NEWER;PUN_2_OR_NEWER;PUN_2_19_OR_NEWER;CROSS_PLATFORM_INPUT;OBI_ONI_SUPPORTED;UNITY_CCU;CURVEDUI_UNITY_XR;CURVEDUI_TMP;USE_INPUT_SYSTEM_POSE_CONTROL;USE_STICK_CONTROL_THUMBSTICKS;PHOTON_UNITY_NETWORKING;LUMINOUS_UNITY_NETWORKING;LUMINOUS_PLATFORM_SDK
The setup continues with the Flow setup window.
Flow Setup Window
Once the Project has loaded navigate to the Luminous Flow Setup window through the menu bar at the top of the screen: “Luminous > Flow Setup”.
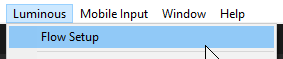
The Setup Window Location
Introduction
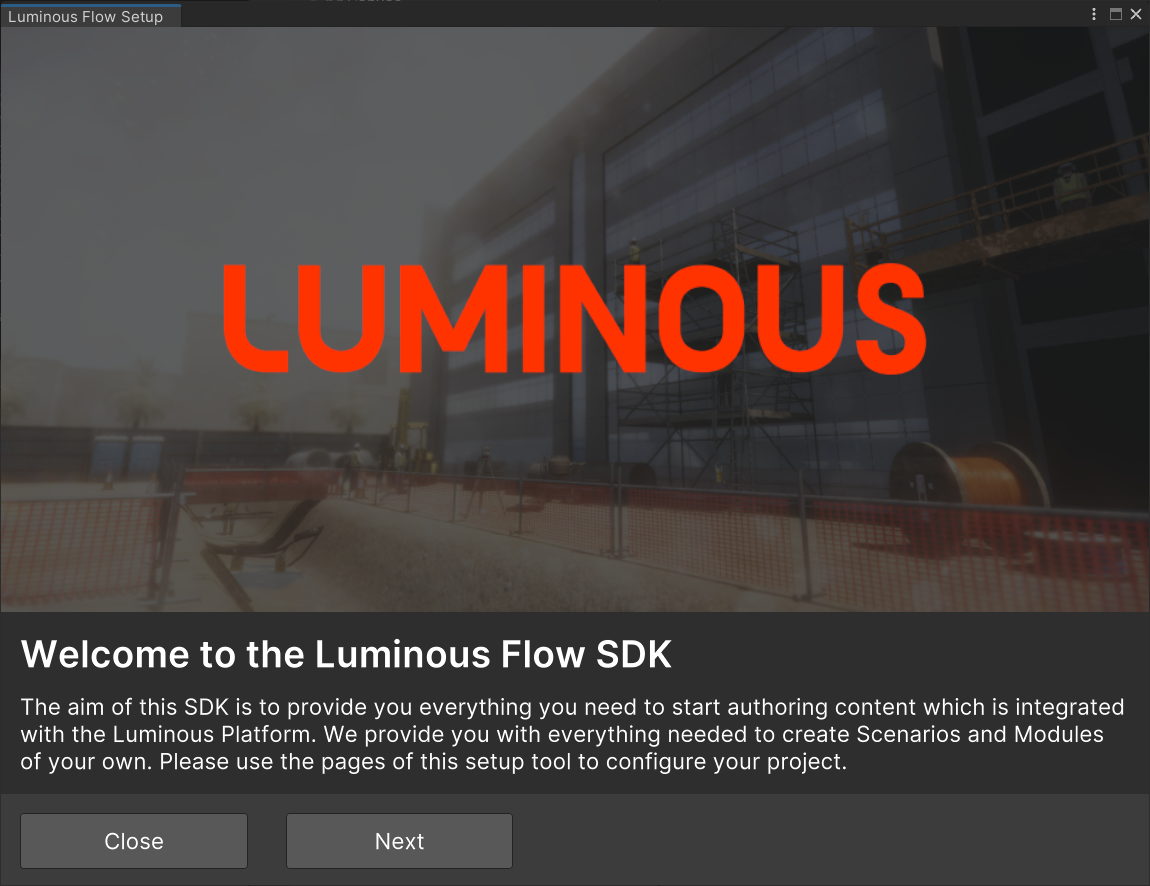
Introduction Page
Press the Next button to continue initial project setup, or Close to exit the setup tool.
Platform
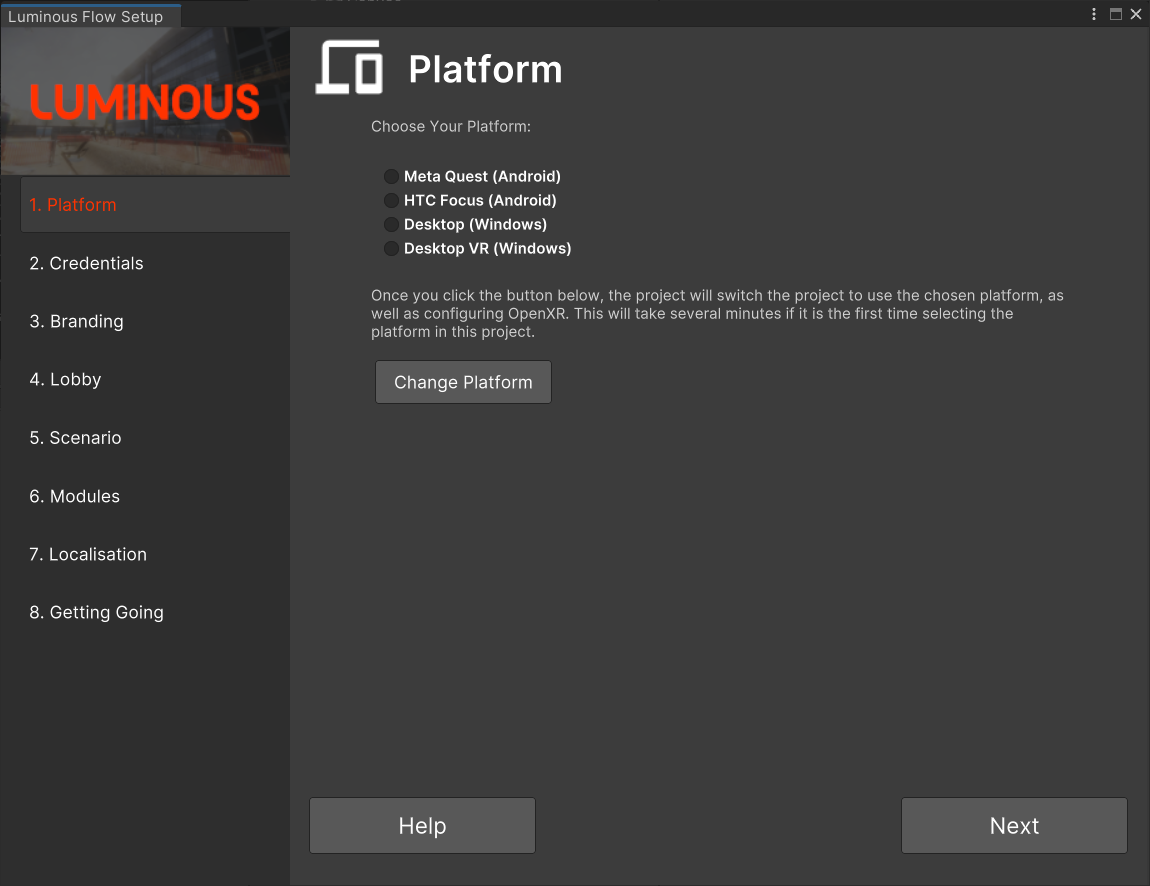
Platform Page
The Flow-SDK currently supports Android and Windows development. Here, you can select the platform you wish to develop for. This starter guide has assumed that you will be building an Android application. Please choose another platform here if that assumption is not valid.
Selecting the Change Platform button will prompt the Unity Editor to switch to the correct platform based on your selection. Note: this can take a few minutes to complete.
Keep in mind that your choice isn't set in stone. You can always come back and change your platform selection at any stage of development.
Credentials
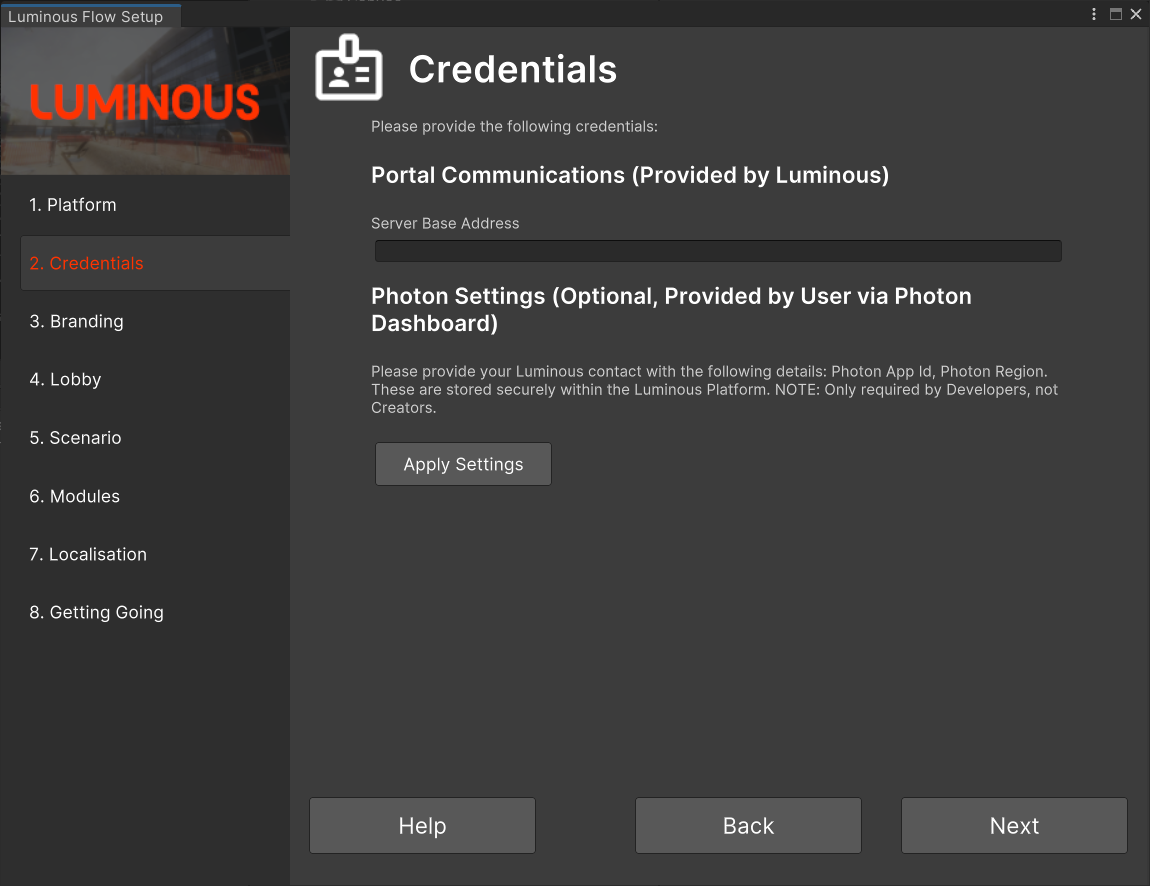
Credentials Page
The Server Base Address is crucial for linking your Unity projects to the Luminous Platform. If this is not correctly configured, you will not be able to leverage the information that you set up within the Luminous Portal.
The default Server Base Address to use unless instructed otherwise by your Luminous contact, is “portal.luminous.io”.
If your project includes multiplayer elements, Photon IDs (PUN/Chat/Voice) are required for integration with Photon's online multiplayer services. These can be acquired from your Photon dashboard: Pre-Requisites for Flow SDK Setup | Photon-ID-Keys
Provide these details to your Luminous contact to have then applied to your Instance of the Luminous Platform.
Branding
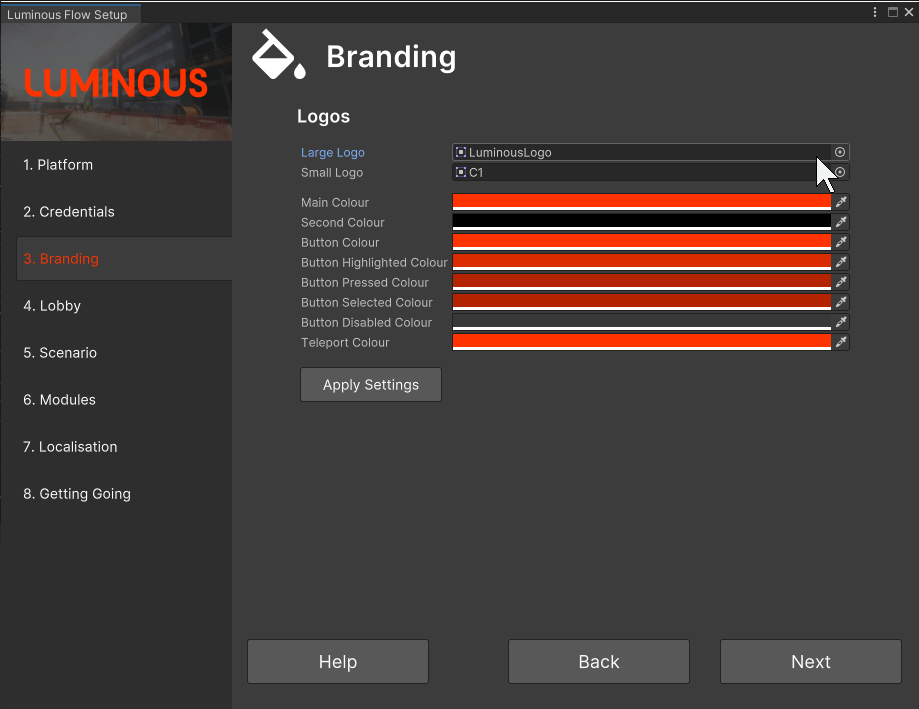
The Branding Page
Want to white-label your content? We have got you covered. Using the Branding page, you can customise the theme of your application. From logos to teleport colours, you can personalise the experience of your users with customized branding.
Press Apply Settings when you have filled out the relevant fields.
Lobby
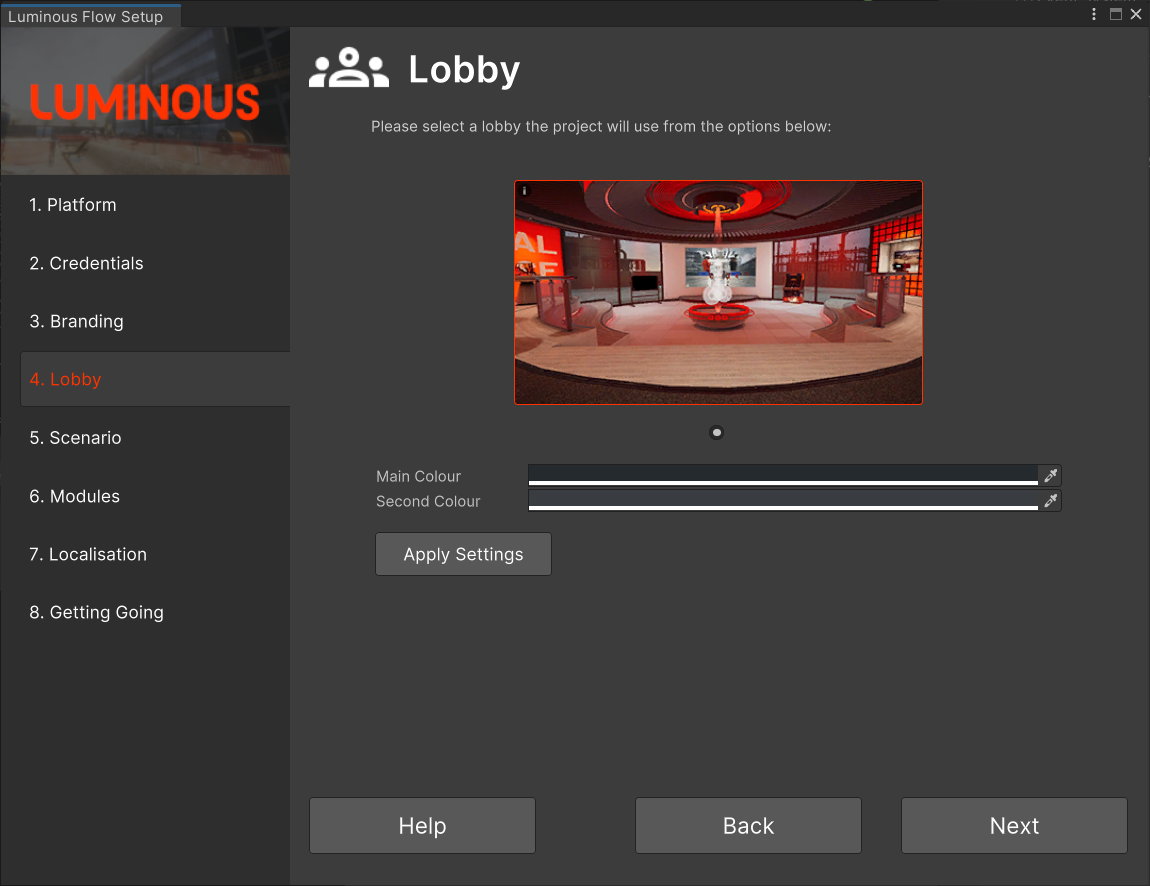
The Lobby is a hub environment where you meet other users and select your scenarios. Any application created using the Flow-SDK should first load into a Lobby scene. There is currently only a single Lobby provided though this will be expanded in the future. Any Lobbies provided within the Flow-SDK are free to be customized or used as a template to build your own, though we suggest that first time users remain using the default Lobby initially, so as to be able to focus purely on content creation.
Press Apply Settings when you have filled out the relevant fields.
Scenario
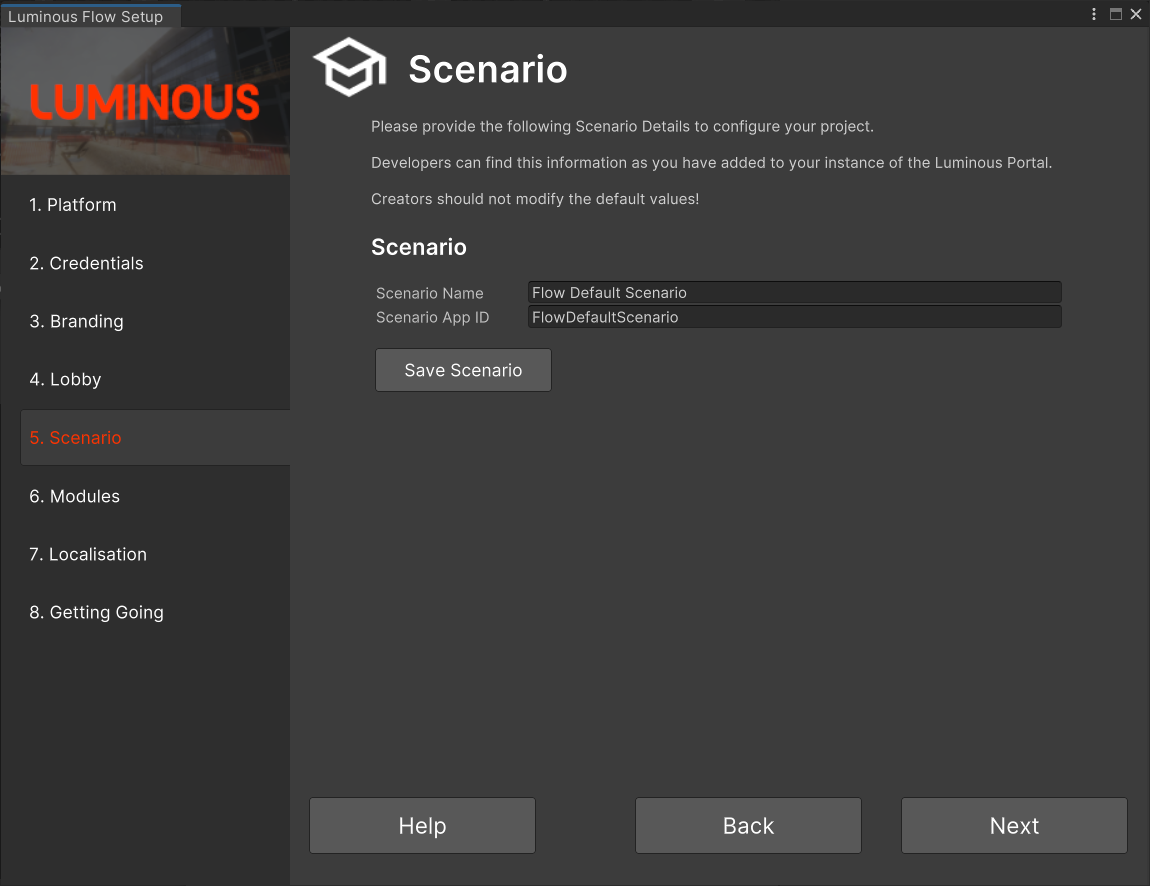
Scenario Page
Scenarios in the Flow SDK act as organizational frameworks for your VR modules, making your content structured and easy to navigate.
What is a Scenario?
Collection of Modules: Think of a Scenario as a folder containing a series of related Modules (playable scenes). Each Scenario groups Modules that share a common theme or objective.
Example Scenario - 'Engine Repair': If you're creating multiple Modules focused on repairing different parts of an engine, these can be collectively named under the Scenario 'Engine Repair'. This title gives users a clear expectation of the content.
Organization and Clarity: Scenarios are not just organizational tools but also serve as thematic guides for users. For instance, another Scenario such as 'Wheel Maintenance' would house modules specifically about wheel-related maintenance tasks.
Press Apply Settings when you have filled out the relevant fields.
Modules
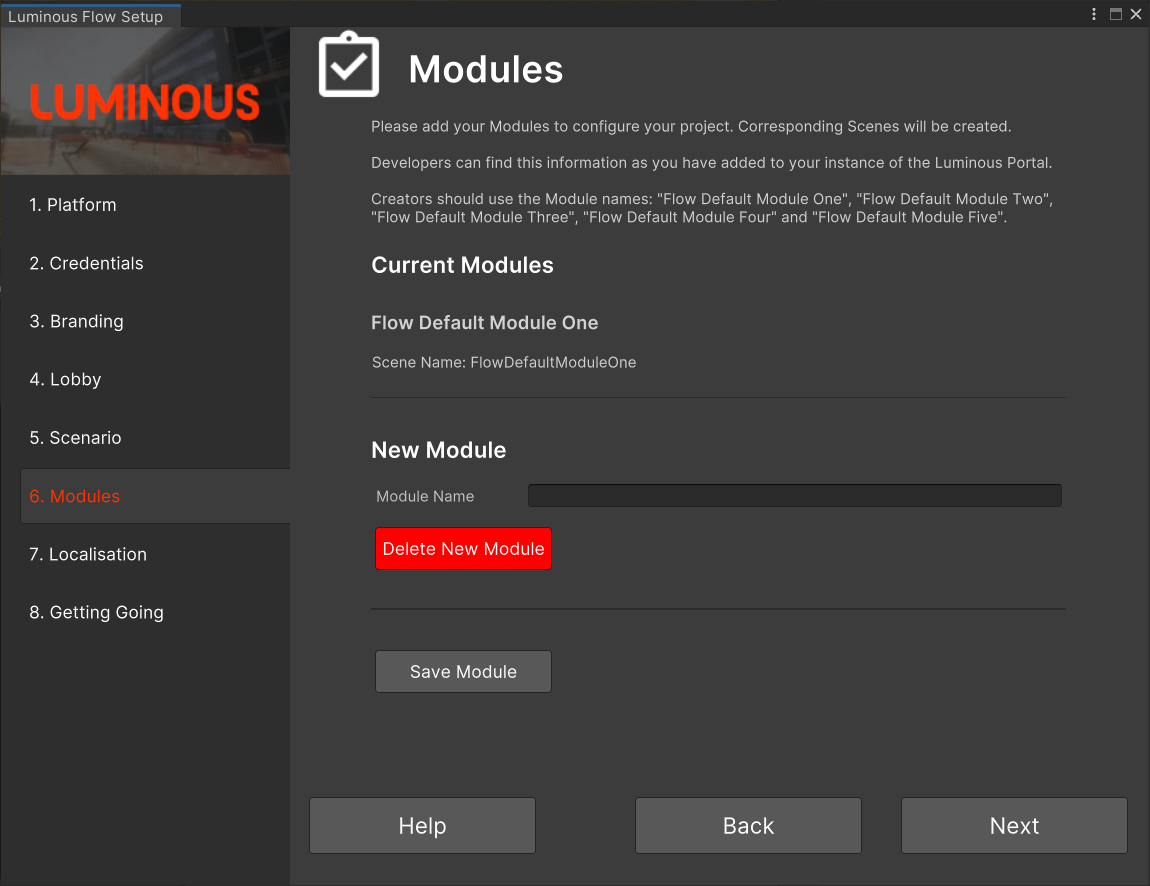
Modules Page
Modules are the heart of your training content in the Flow SDK, where the hands-on learning and interaction take place.
Understanding Modules:
Core Training Elements: A module is essentially a self-contained unit where specific training tasks or interactions occur. It's the space where users engage directly with the content you've designed for learning or skill development.
Module Content: Each module should focus on a particular task or set of tasks that align with your overall training objectives. As a general rule, a Module should be around 100 Steps or less.
Press Save Module when you have filled out the relevant fields. This can be repeated for as many modules as you require.
Localisation
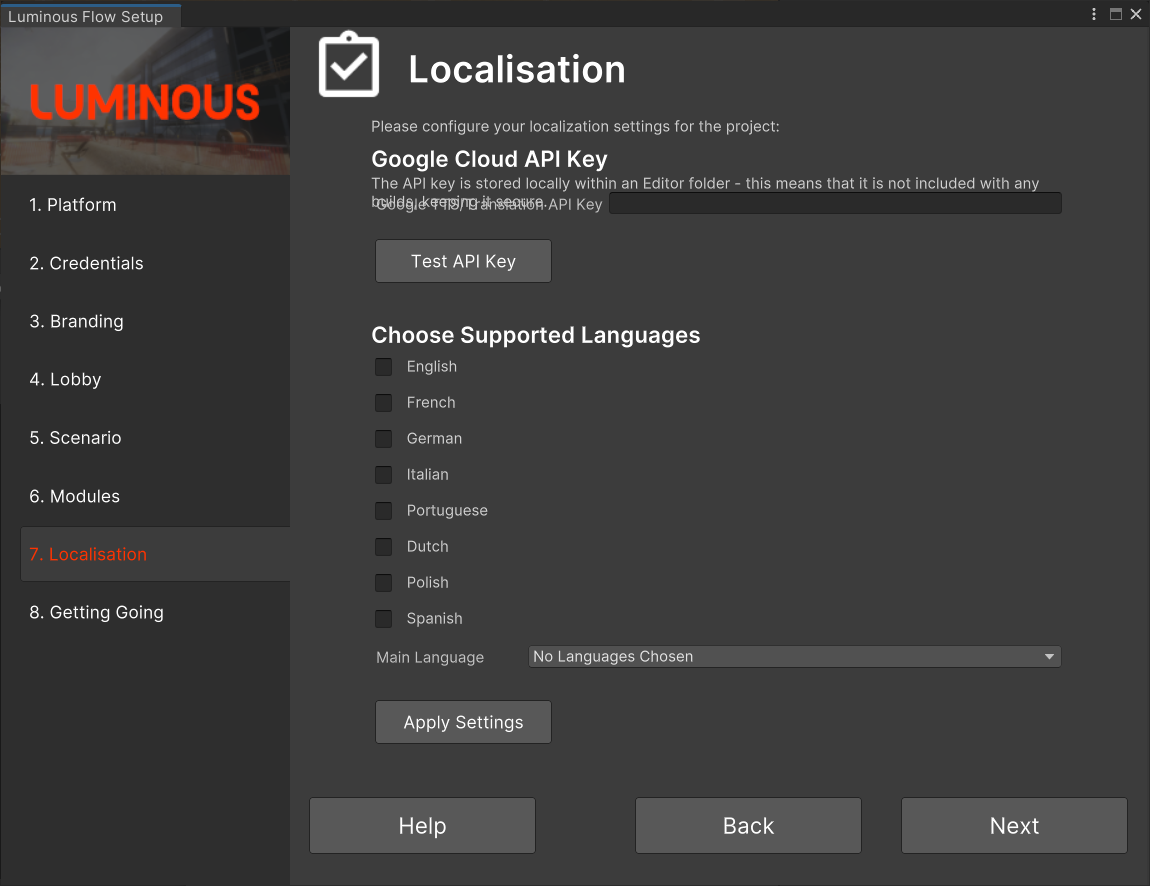
Localisation Page
Flow supports easy localisation using the Google TTS API and Google Translation API. Here you can add those keys and then select which languages you would like to support.
Within the Flow-SDK, both Text-To-Speech (TTS) and Translation functionality is provided under the Localisation system.
The Main Language selected should be the native language which the project will be developed in. This will form the base from which TTS/Translations are made. This is a requirement.
Choosing a single language is valid if you do not wish to localise your content initially. You always have the option to do so at a later stage in your development cycle!
Press Apply Settings when you have filled out the relevant fields.
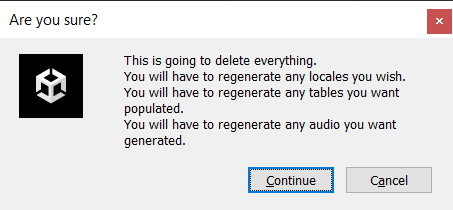
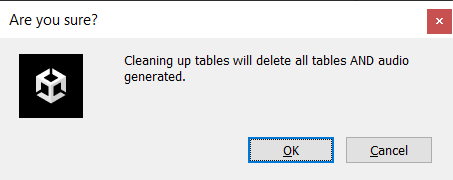
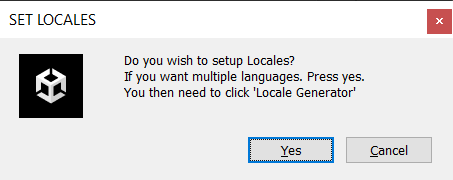
After pressing apply settings you will get a warning about it deleting everything related to existing localisation currently within the project. As we are setting up a new project, we can safely continue. You can then confirm the dialogues which follow.
Getting Going
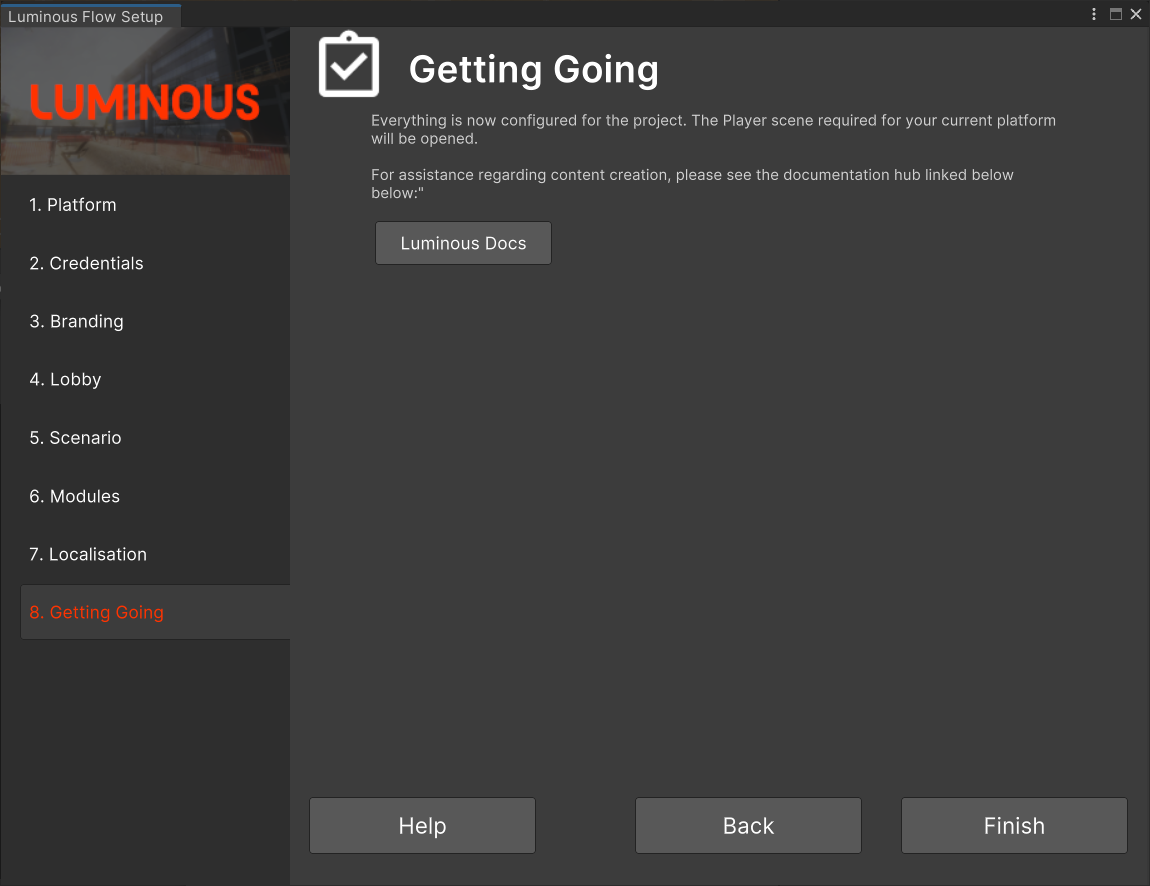
Getting Going Page
Now your project is set up and ready to use! Press finish to finalise the set up.
Next Steps
Congratulations, now you're ready to test your set up. Check out the other pages under the Getting Started section: Lobby Functionality Use the Testing a Module guide to help you test your newly made template modules, or continue to Setting up your first Module to start developing your own content.